Open the Market's File
For a social media graphic, use the MASTER template file found in each market’s social folder.
Example: If ProcessKit says you are designing a graphic for the “Illuminate Mortgage” market, this is the file path and filename you will choose:
Google Drive > Product Illuminate > Markets > Market – Mortgage > Social > Mortgage Social MASTER.ai
NOTE: ALWAYS START WITH THE TEMPLATE FILE, NEVER WITH A PREVIOUS DESIGN.
Back to TopDesign Your Graphic
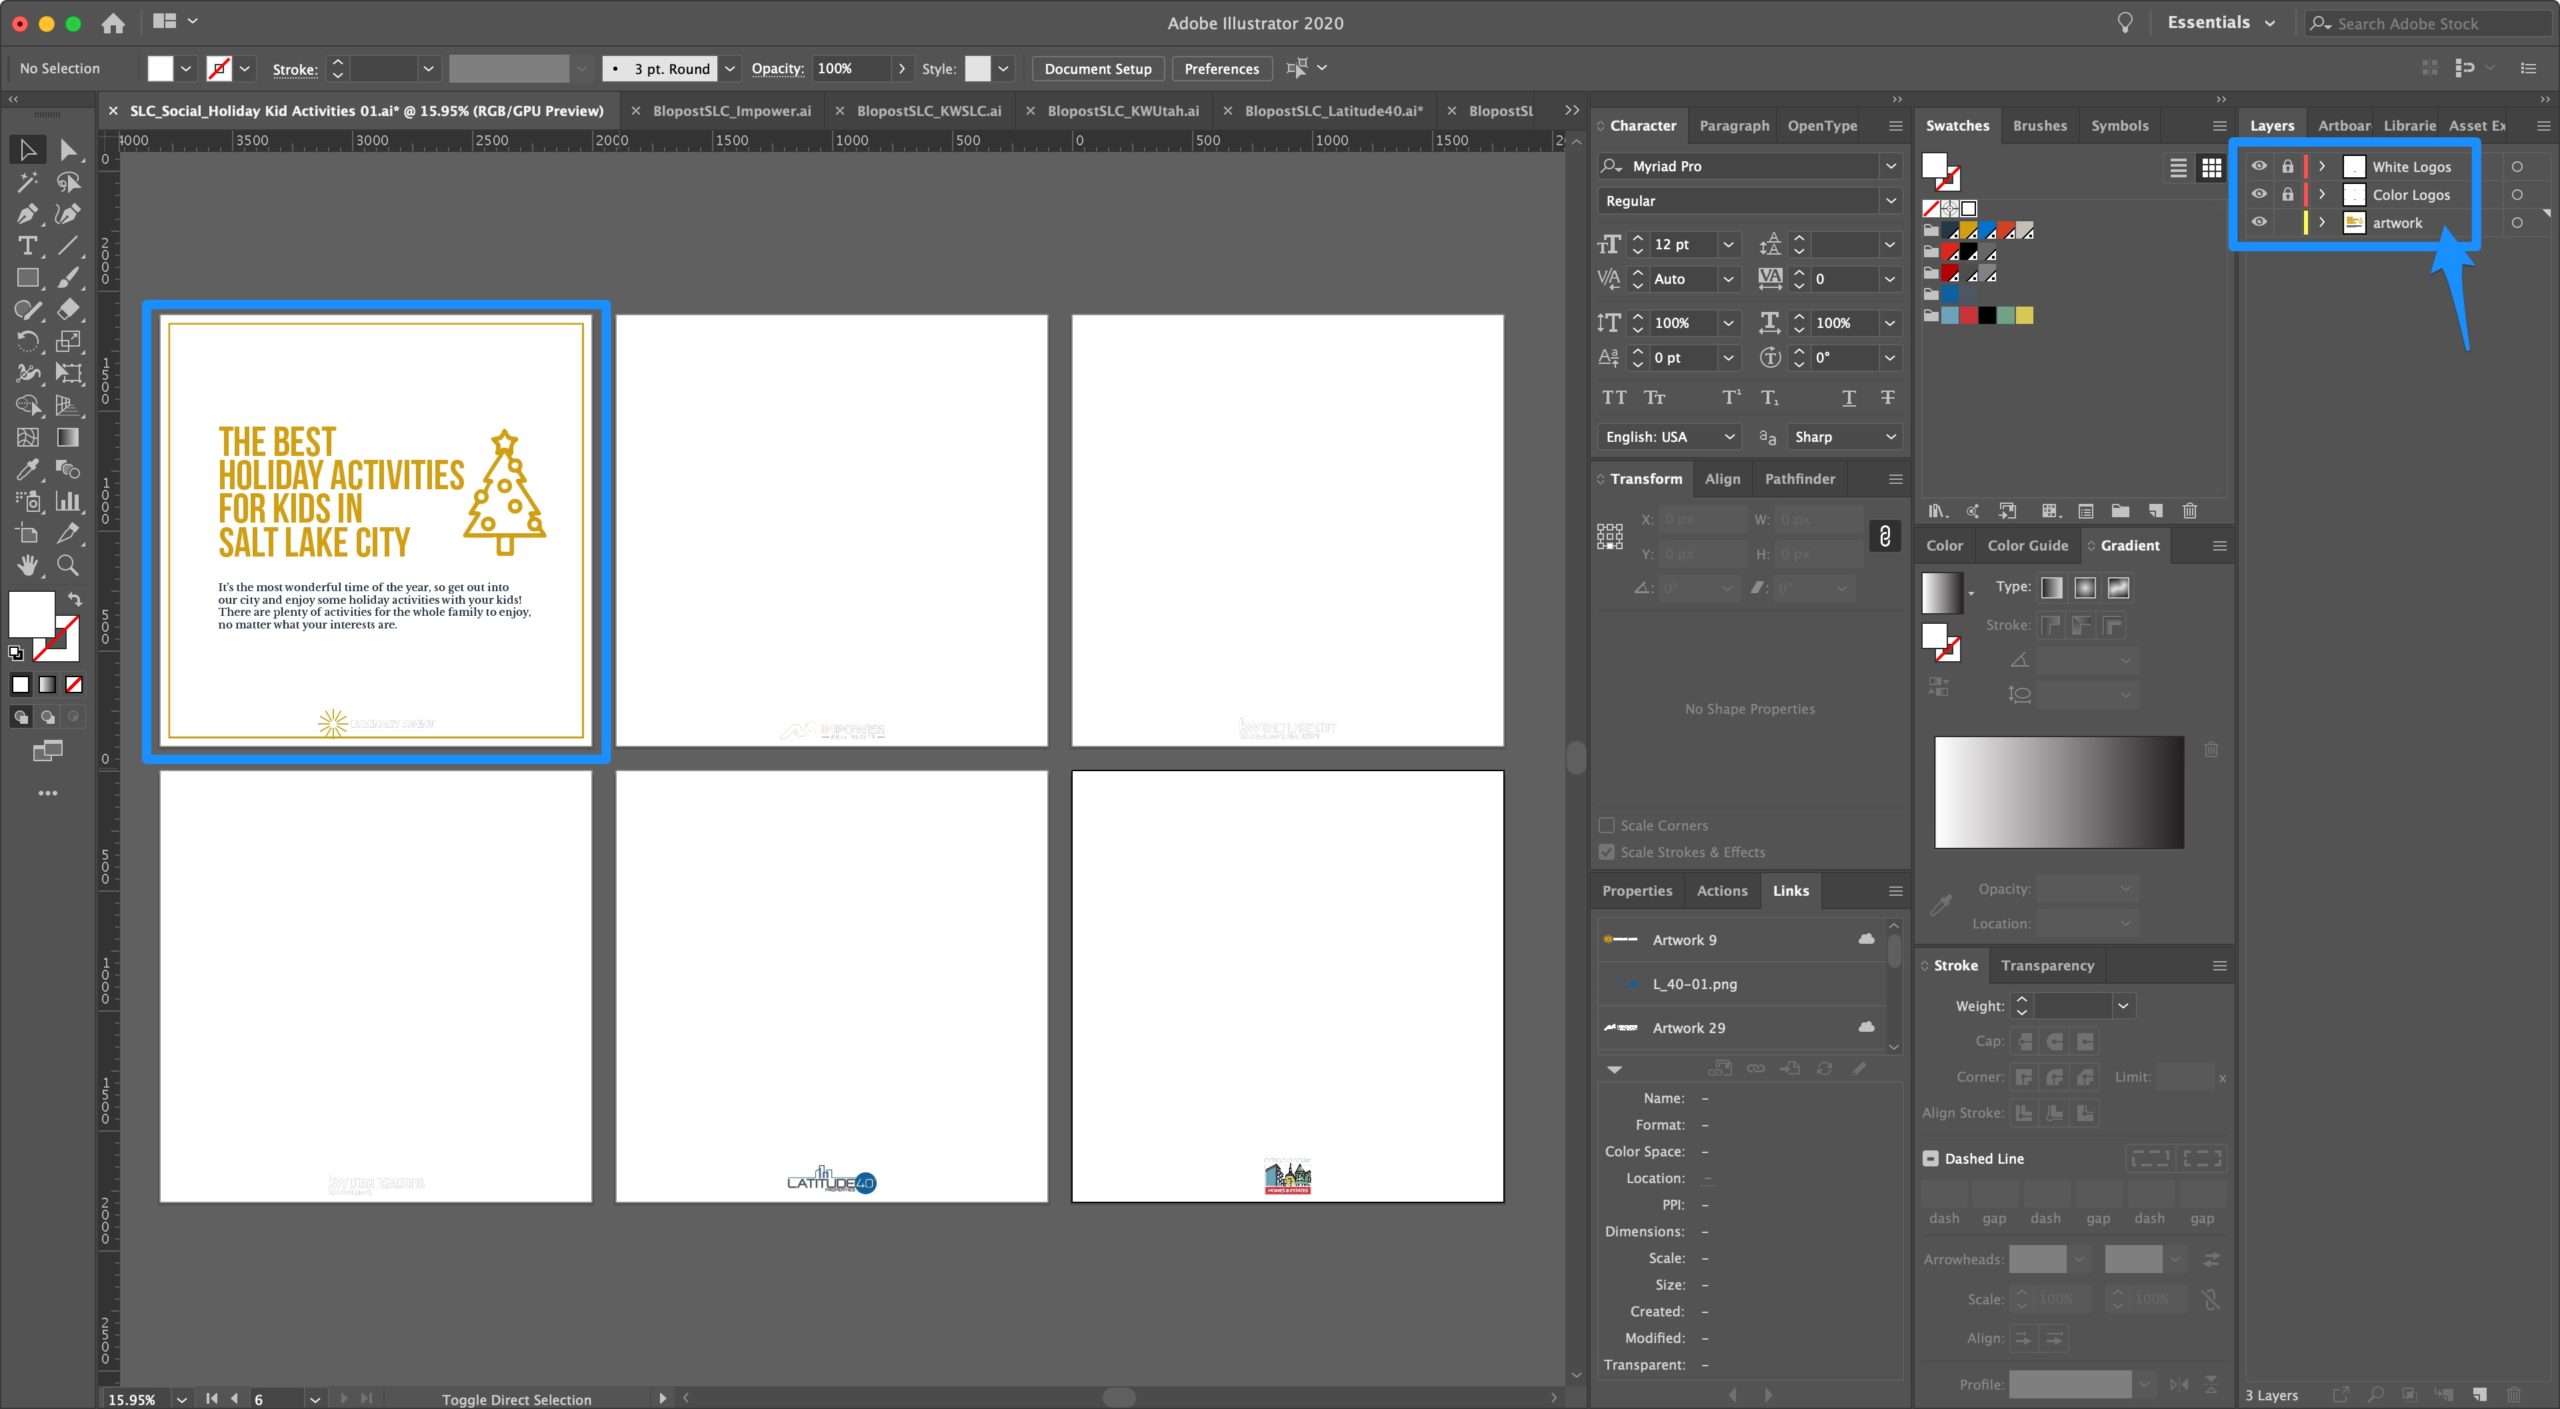
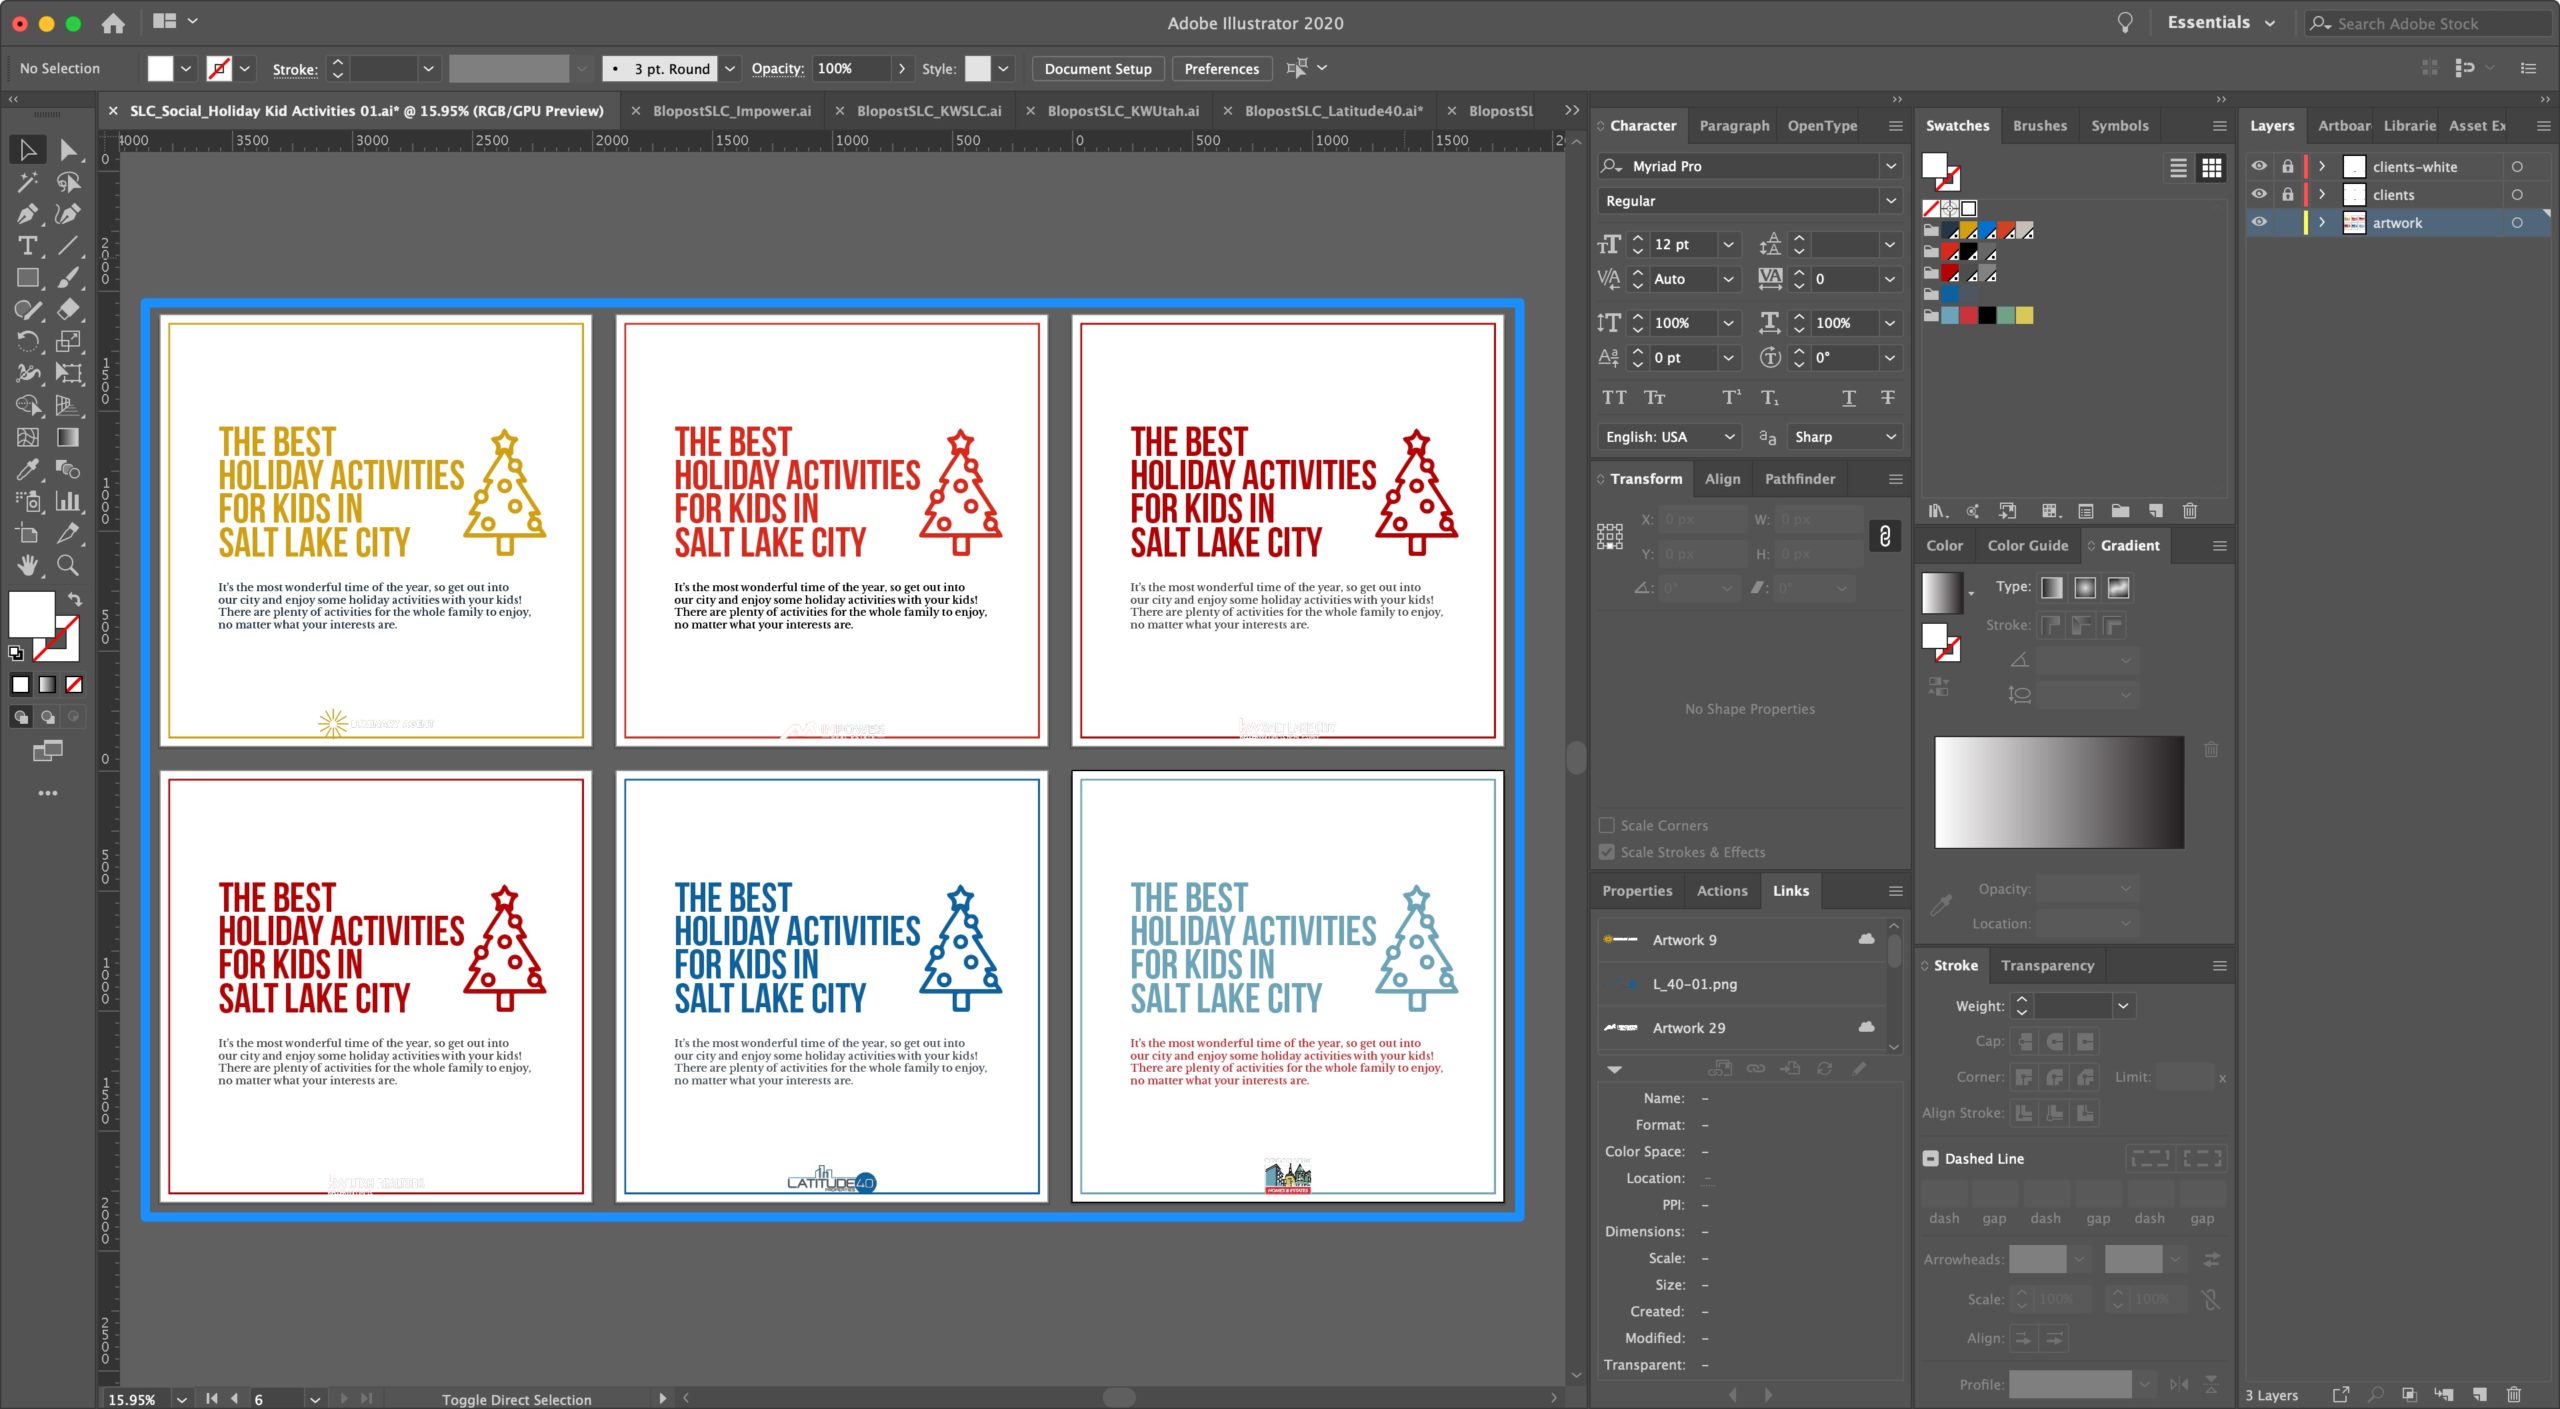
You’ll notice there are 4 layers in the layers panel:
- “White Logos” has all white versions of the client logos
- “Color Logos” has all color versions of the client logos
- “Artwork” is the layer that will have any part of the design that you DON’T need to recolor
- “Brand Artwork” is the layer that will have any part of the design that you DO need to recolor with the brand colors
A) Design your graphic on the first artboard only (it should be the Luminary Agent artboard). You will be copying your graphic and rebranding it on the other artboards in the next step.
Copy the Artwork and Recolor
A) Copy the design from the first artboard to the remaining brands artboards
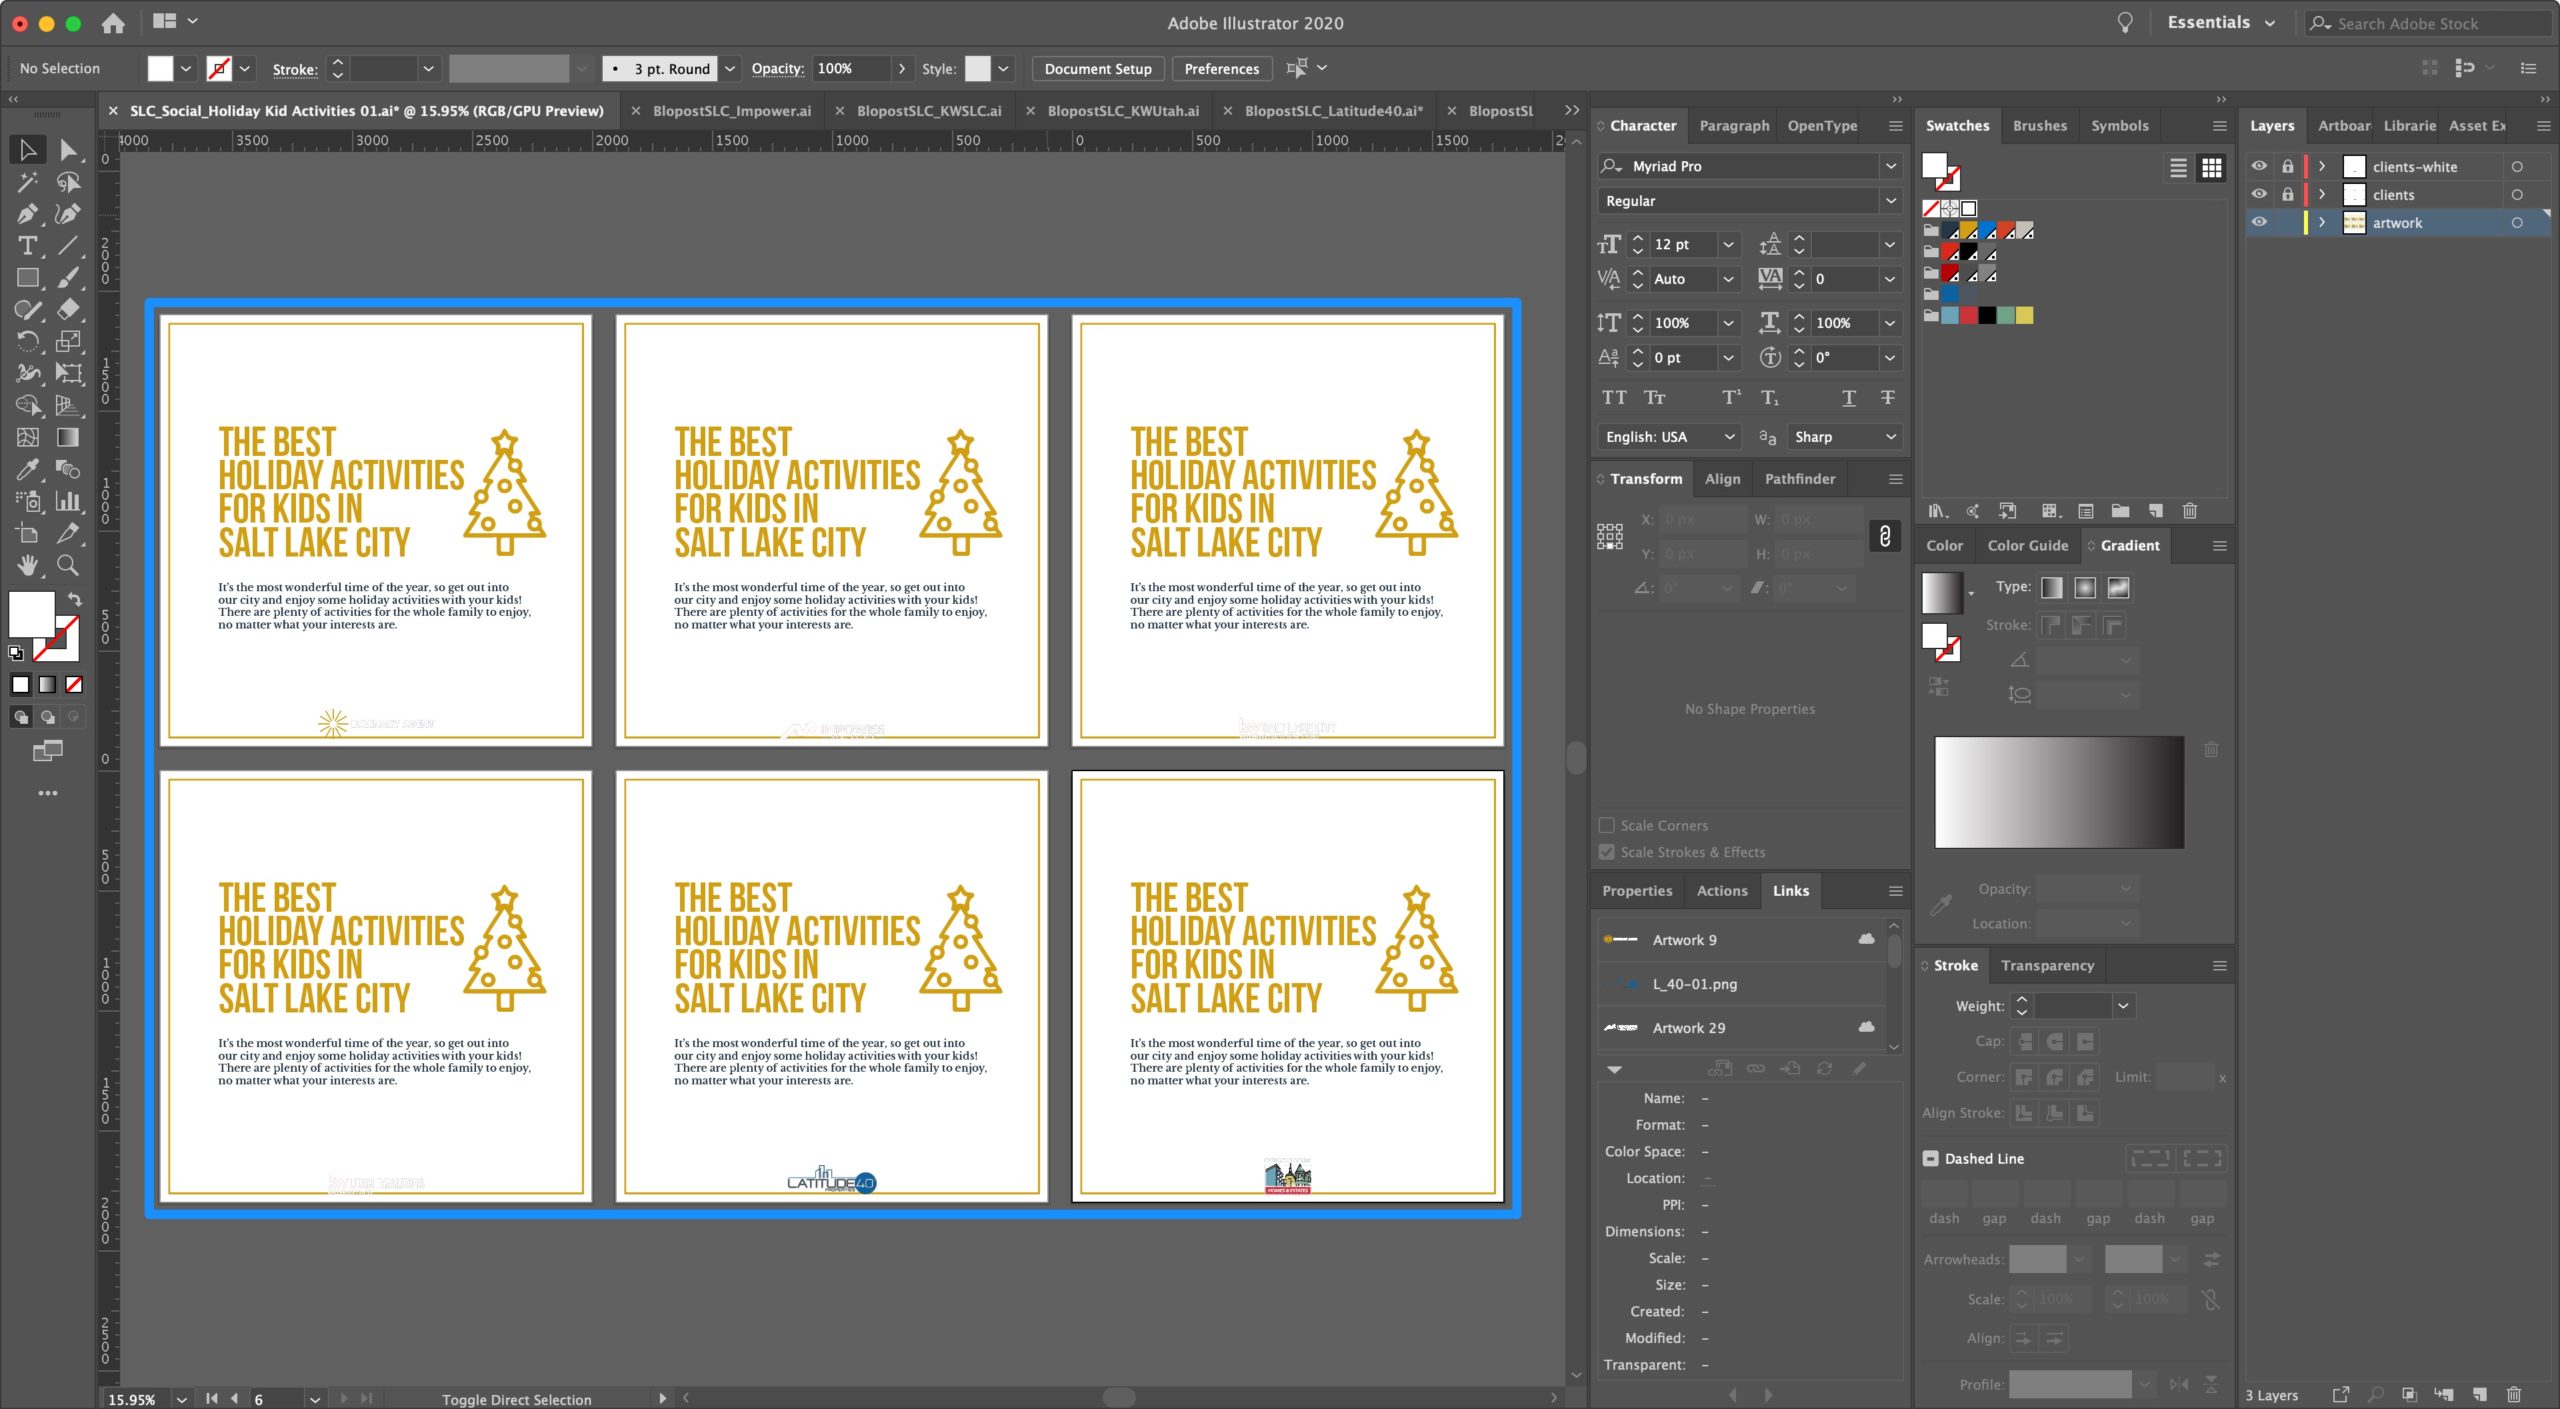
B) Select all the design elements for artboard two and go to Edit > Edit Colors > Recolor Artwork or click the “Recolor Artwork” colorwheel icon in the menu bar
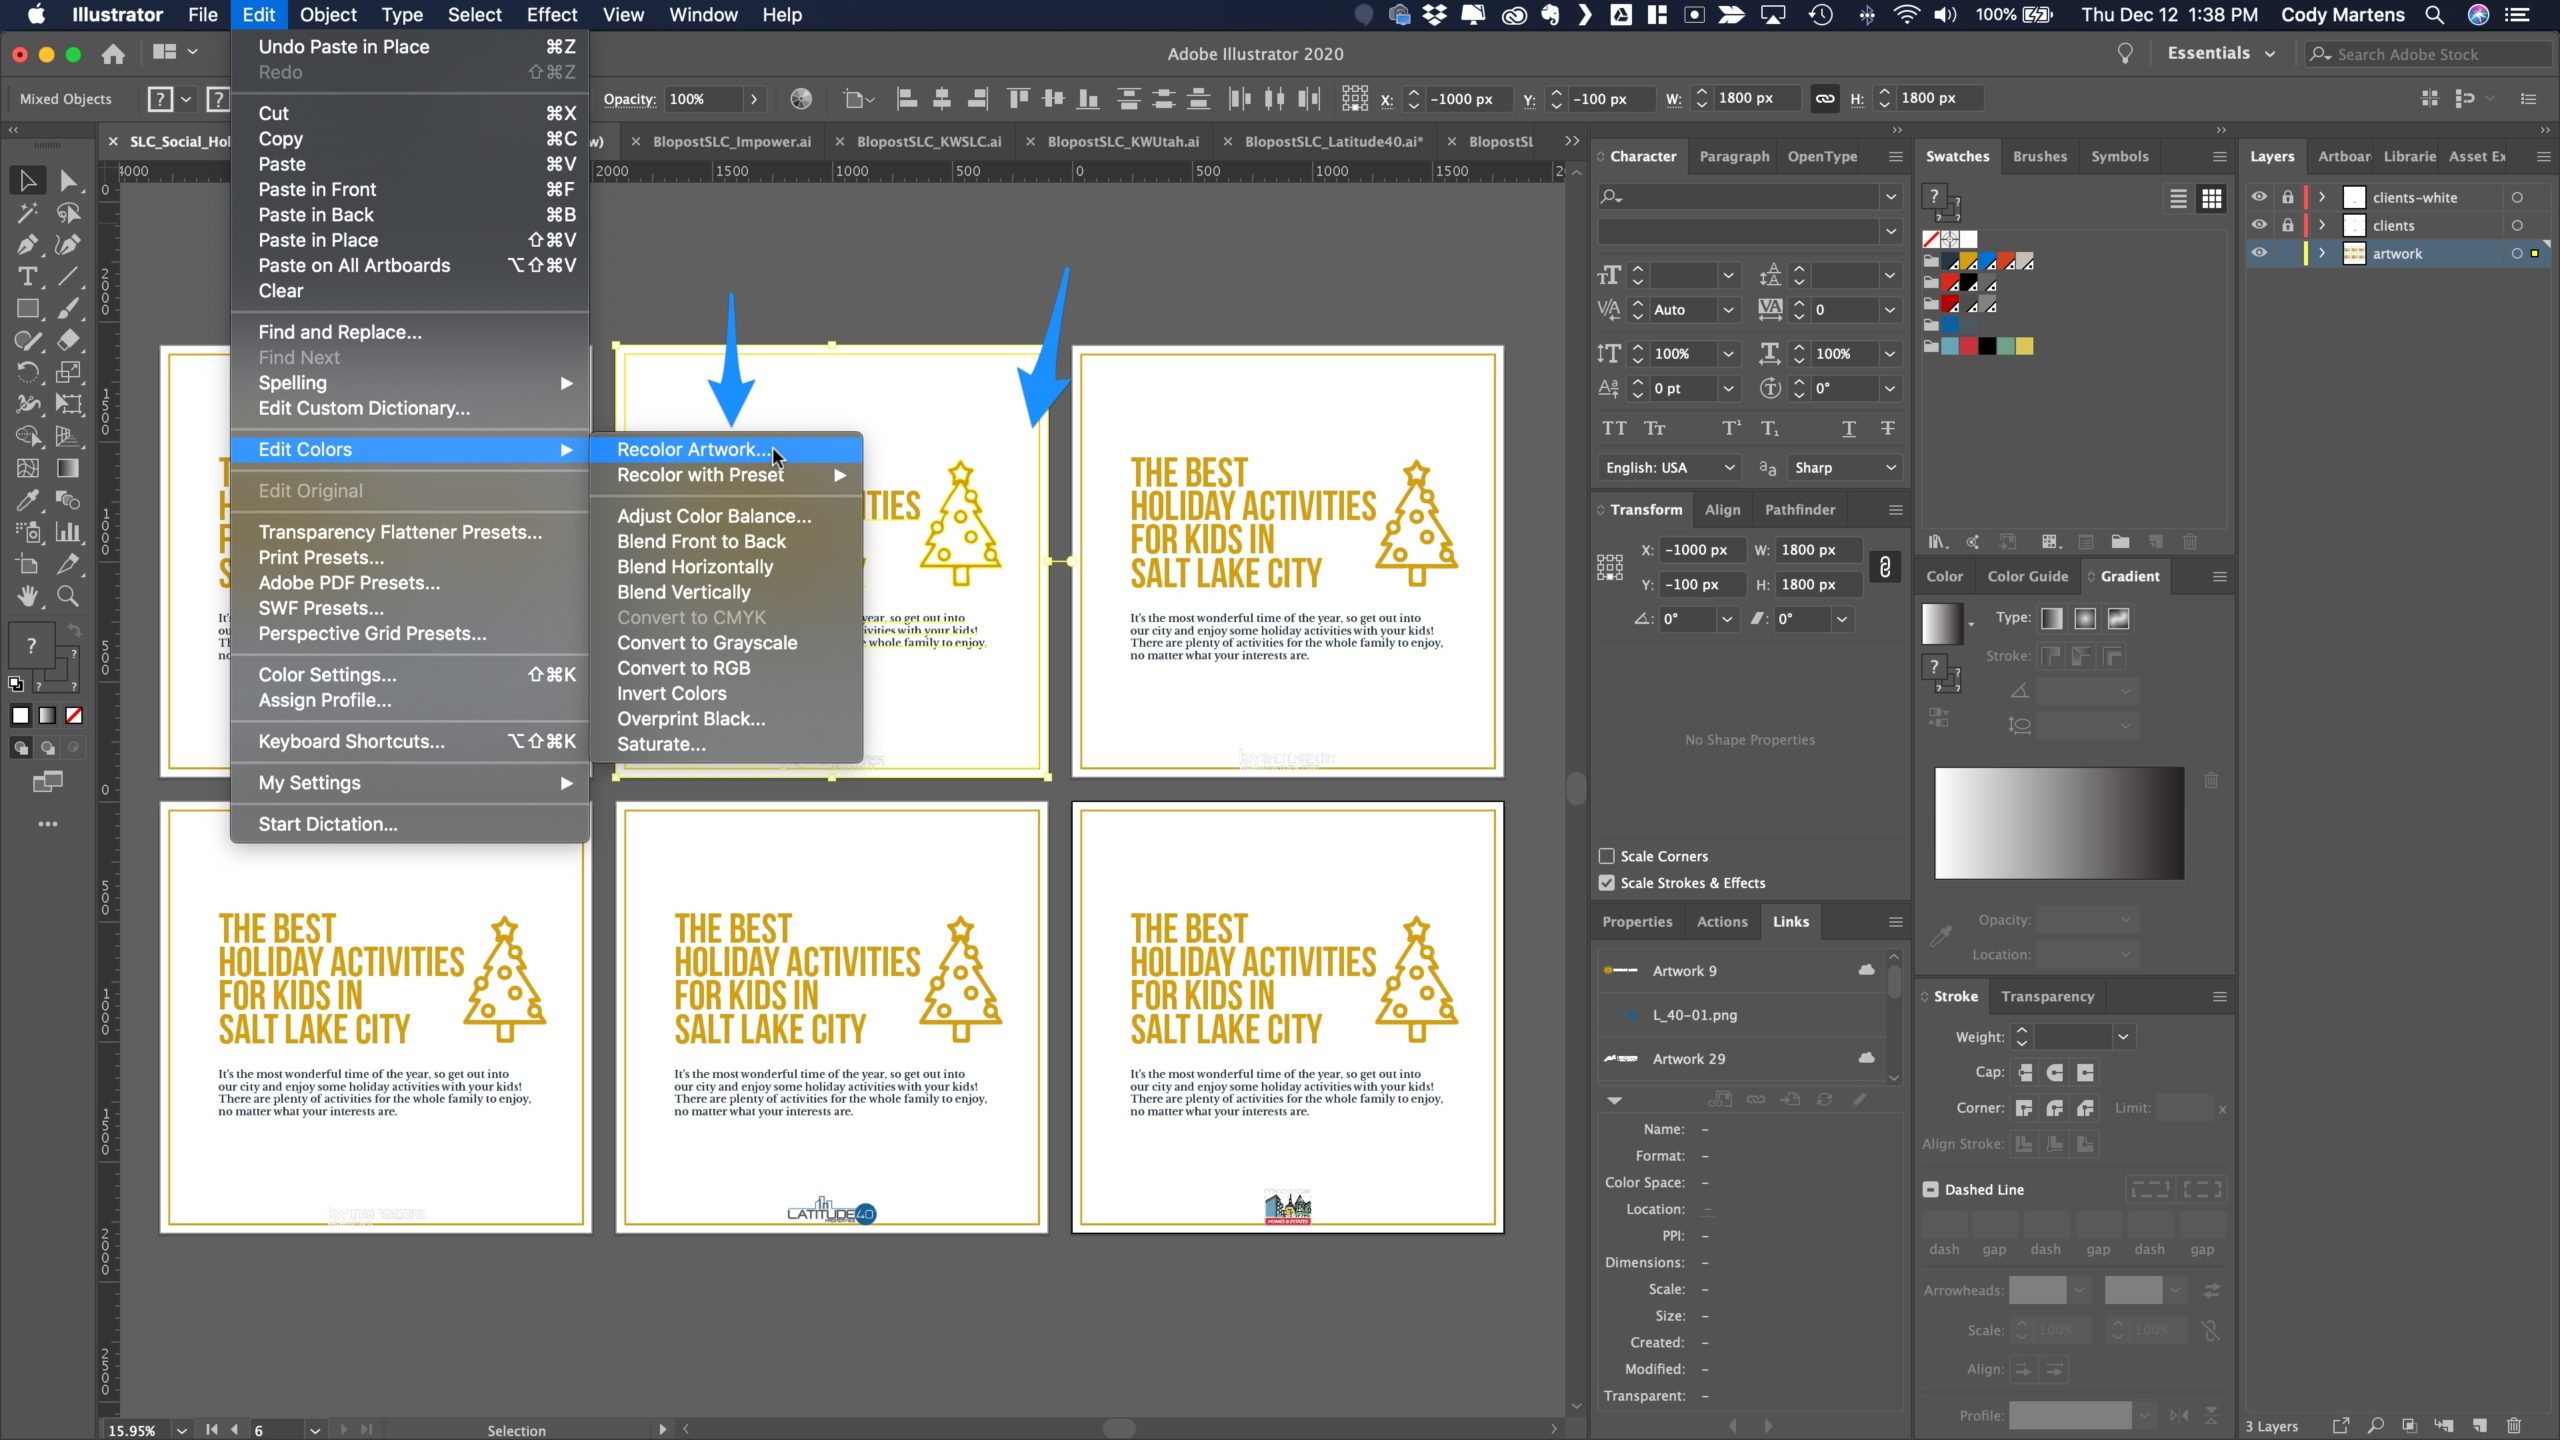
C) In the “Color Groups” box on the right, choose the color group that matches the brand whose artboard you’re recoloring and click OK.
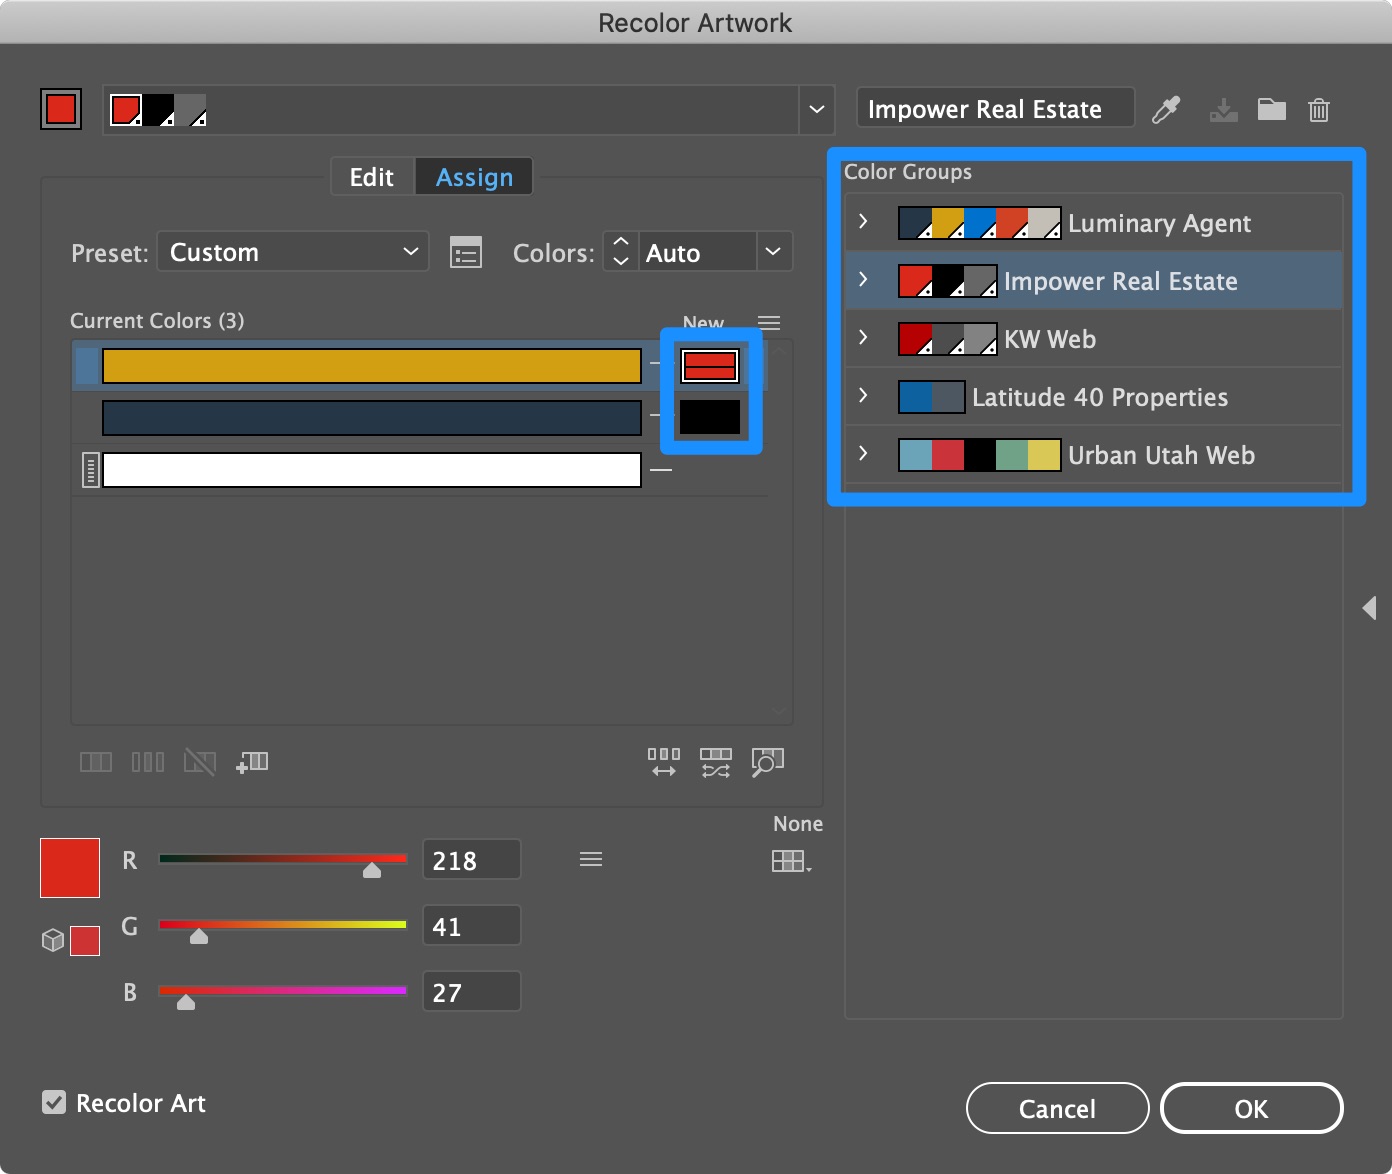
D) Repeat steps B & C for the remaining artboards, selecting the appropriate color group for the brand whose artboard you’re recoloring.
Choose Your Logo Version
A) Show/hide whichever client logo layer you are/aren’t using.
Example: if your design has a dark background, hide the “Color Logos” layer and show the “White Logos” layer to only show the white versions of the client logos.

If you need to move the logos up to accommodate your design, simply unlock the layer, select all of the logos in that layer, and move all of them up at once. This will ensure they all move up the same distance.
Back to TopSave the Artboards as Images
When it’s time to save the artboards as images, it’s easy to name them all correctly upon output.
A) First, Option + CMD + E will pull up the “Save for Screens” dialog box in Illustrator. (You can also navigate to File > Export > Export for Screens
B) Choose or create the export folder.
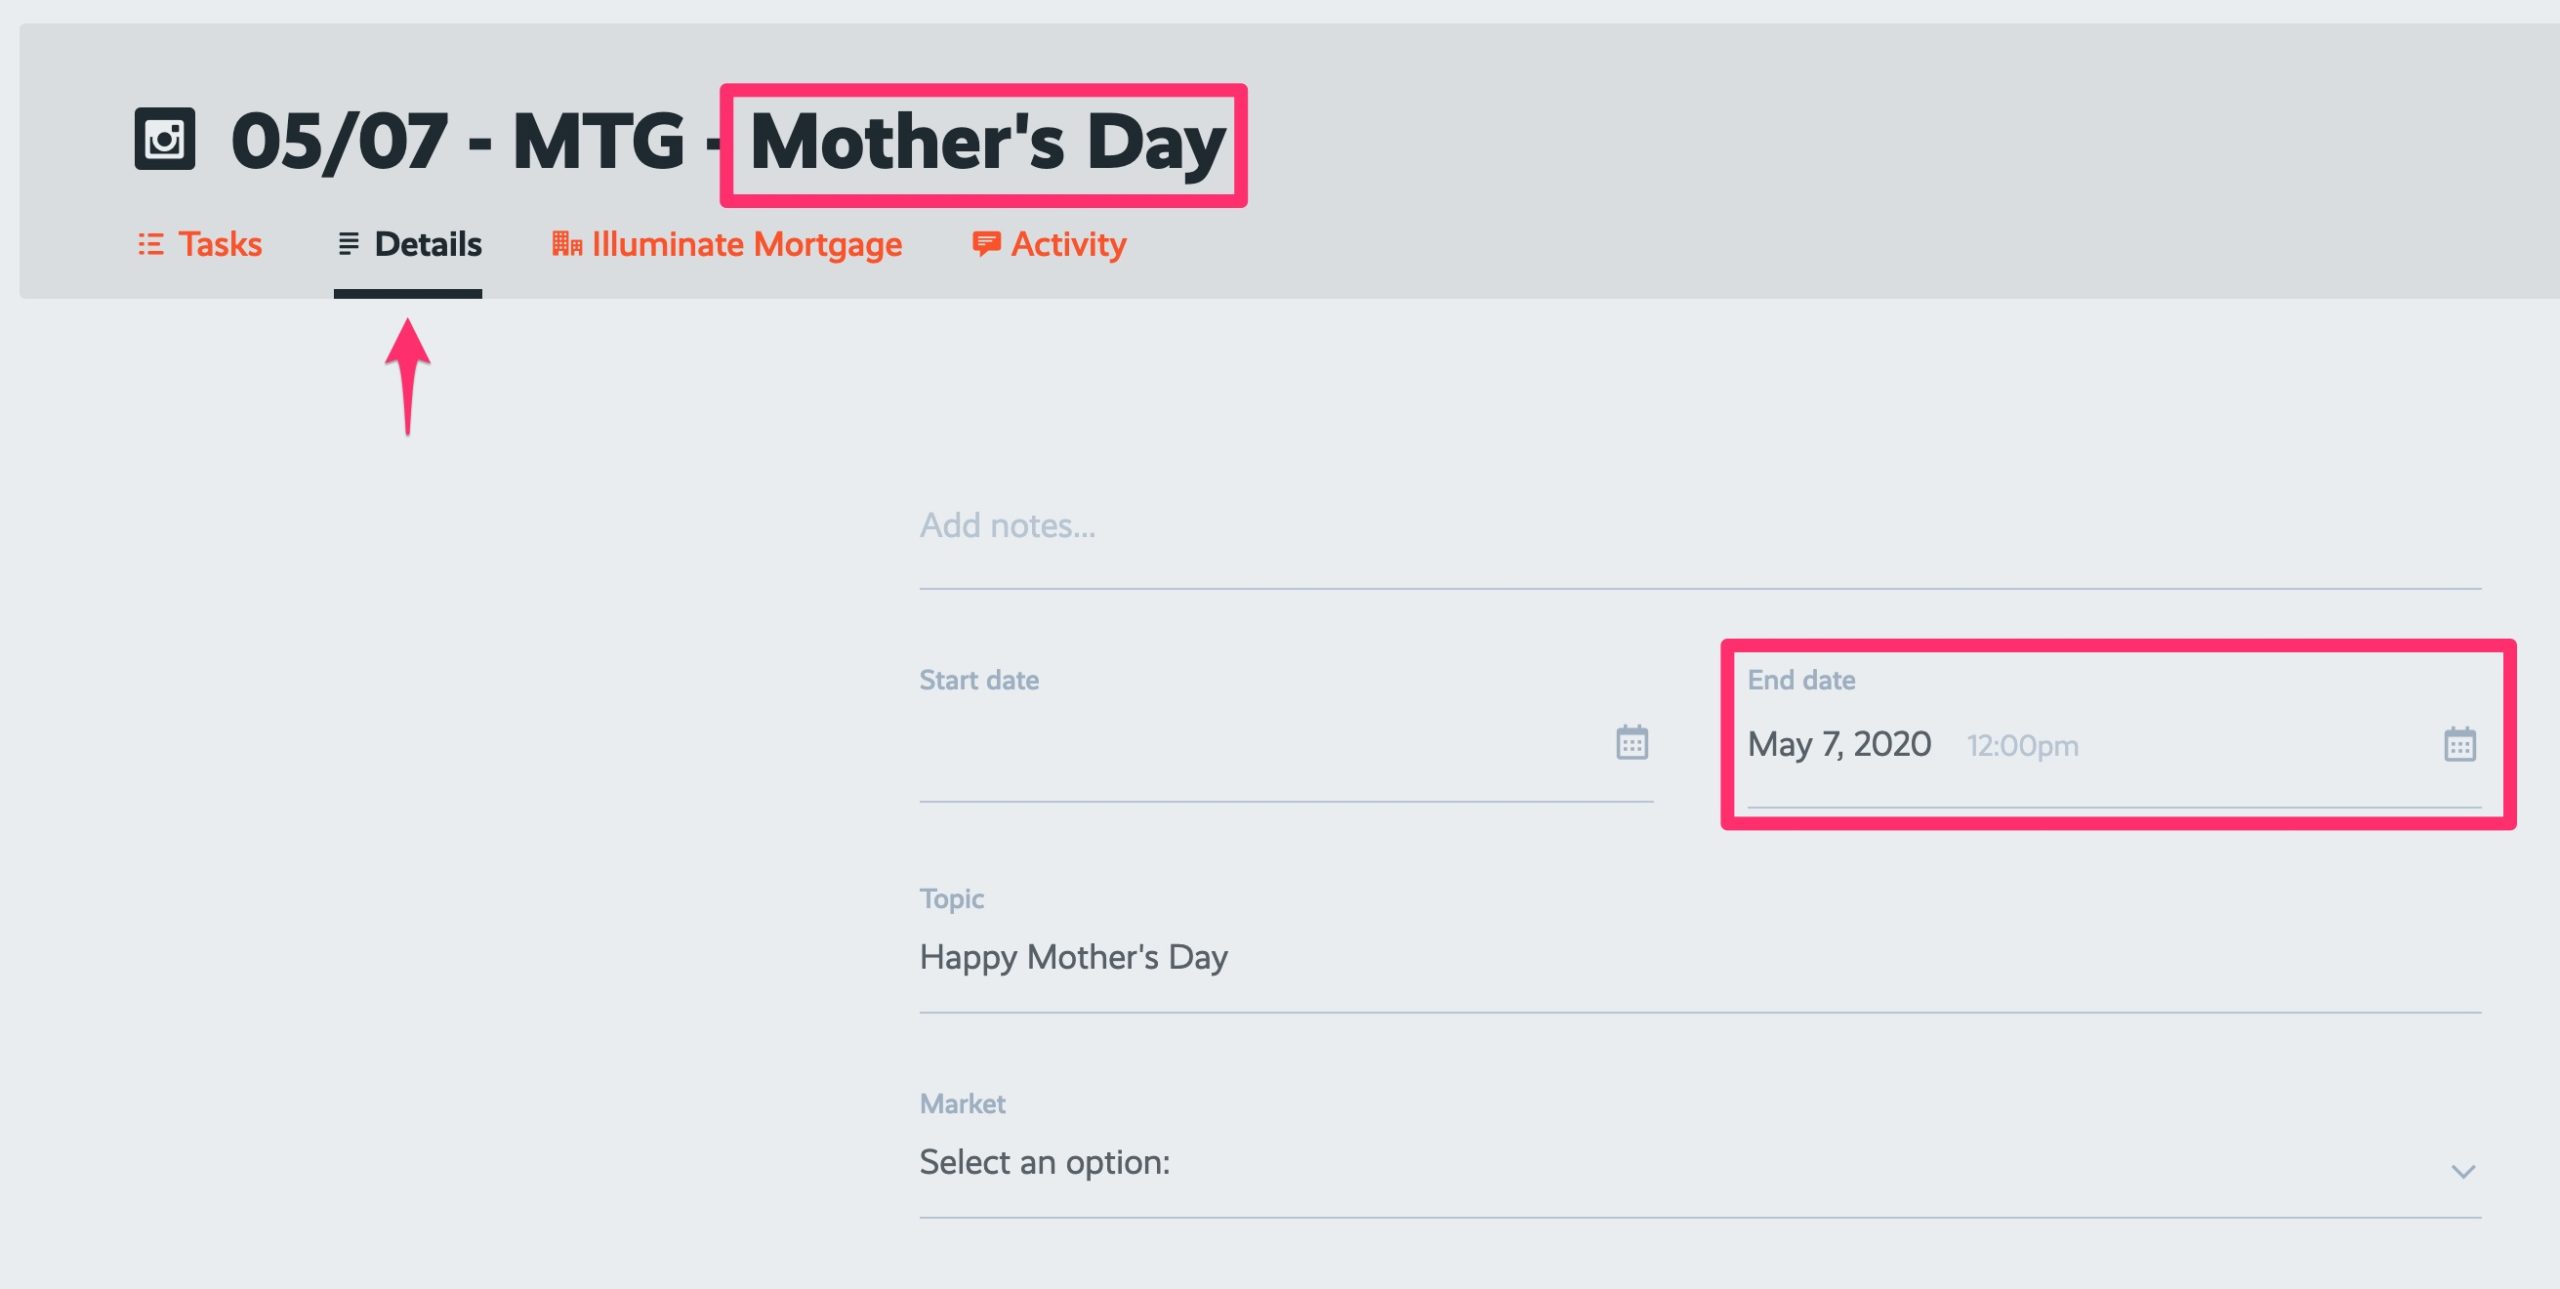
Example: If ProcessKit says you’re creating a graphic for the Mortgage market whose project End Date is May 7, 2020 (which you can find on the details screen) and whose project name is “Mother’s Day” (ignore the date and market abbreviation), you would create (or choose) the following folder:
Product Illuminate > Markets > Market – Portland > PDX_Social > 2020 > PDX_Social_2020-05-07_Mother’s Day
C) Choose 1x and JPG 100 for the format. It will automatically add “-100” to the suffix.
This will produce a file that is named [Artboard Name][Suffix].extension. As an example, we’d get “a-luminary-agent-01-100.jpg”.
NOTE: IF IT DOESN’T AUTOMATICALLY ADD “-100” IN THE SUFFIX BOX, PLEASE ADD.
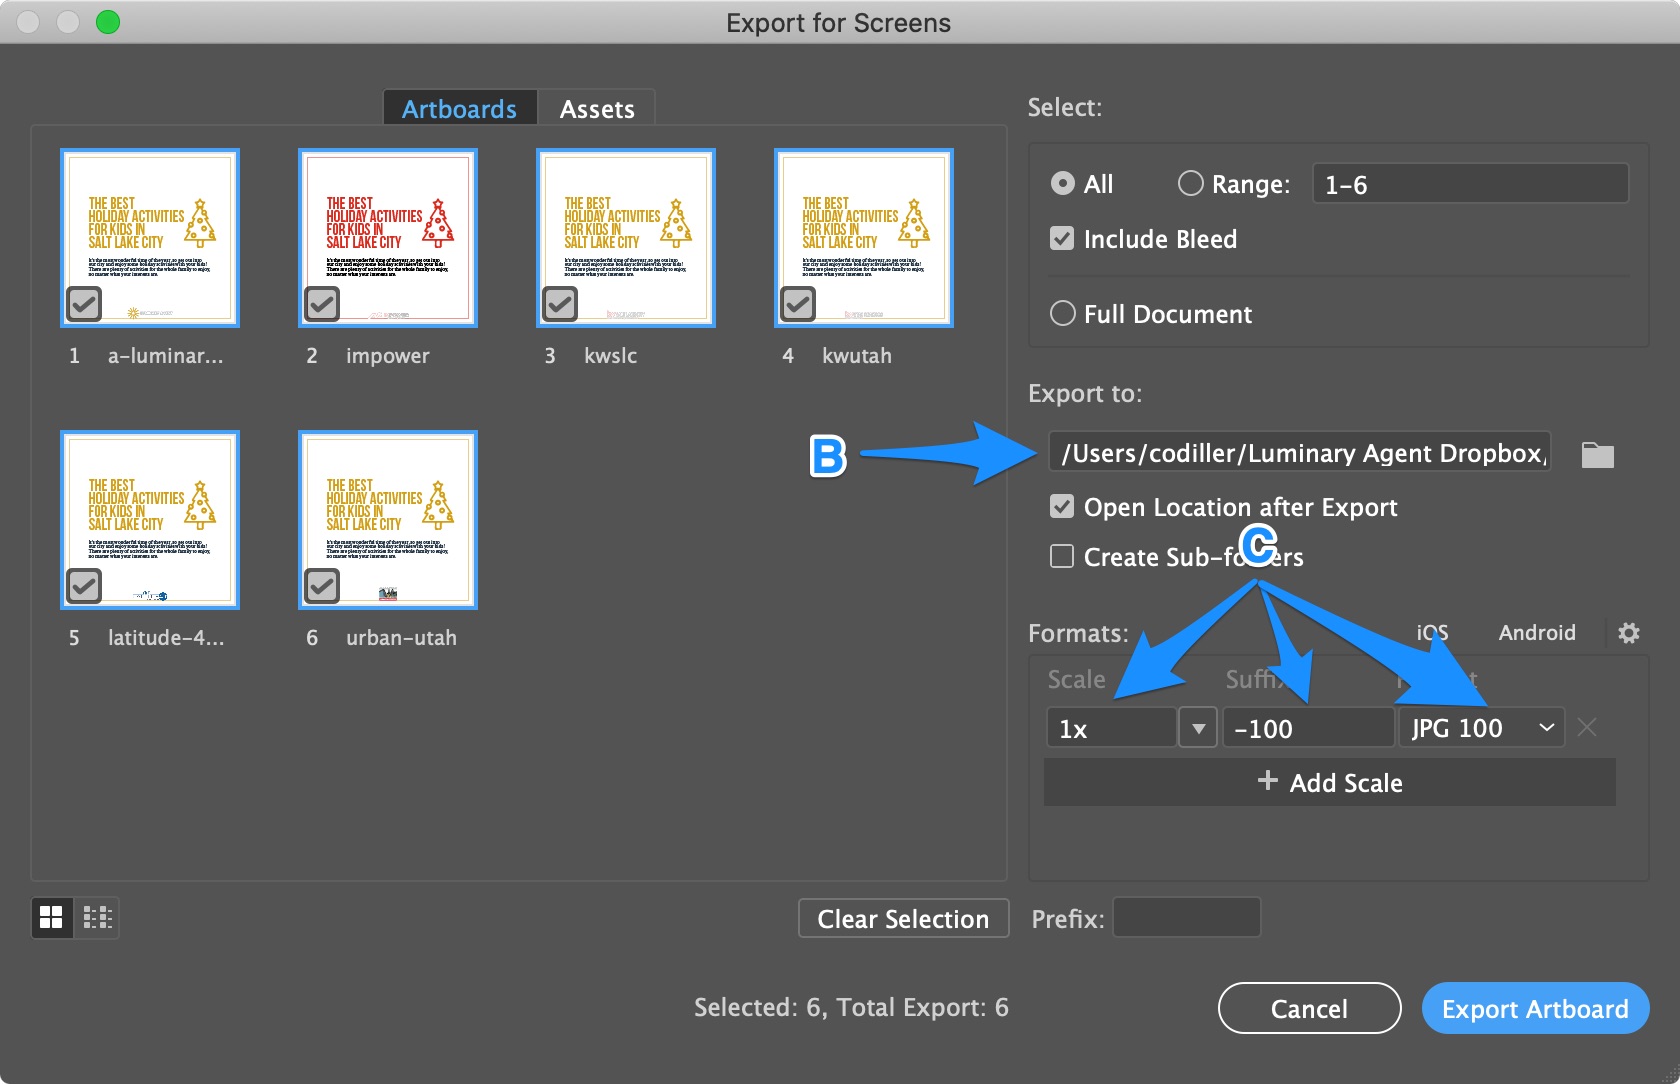
D) Click “Export Artboard”

Update the Task List and Complete the Task
A) Add the link to the folder on Google Drive into the ProcessKit project using the procedure at this link
B) Complete the task
Back to Top