Archive Old Photos and Create New Photos
A) In the client’s “Agent Photos” folder, create a folder named “Archive” if it doesn’t already exist
B) Move all old photos into this Archive folder
C) Follow the step in the procedure at this link to create a new 2×3 photo
D) Follow the step in the procedure at this link to create a new square photo
E) Follow the step in the procedure at this link to create a new circle photo. NOTE: make sure it has the white border!
Back to TopUpdate Photo on Website Homepage
If the client has the website product:
A) If the client has their photo on their website’s homepage, please update it
Back to TopUpdate Photo on Employee Page
If the client has the website product:
A) Please update the client’s photo on their employee profile
Back to TopUpdate Photo on MailerLite Template
If the client has the Email product:
A) Please update the client’s photo on their Mailerlite template
NOTE: making a change to the template will NOT update any campaigns in the drafts or outbox. You MUST update these separately. (See next step.)
Back to TopUpdate Photo on MailerLite Draft and Outbox Campaigns
If the client has the Email product:
A) Please update the client’s photo in Mailerlite on any draft or outbox campaigns
B) If the campaign is in the outbox, press Cancel and Edit, edit the design, then re-schedule it again
Back to TopUpdate Photo on Postcard Template
If the client has the Postcard A or B product:
A) Mask the client’s original photo (remove the background)
B) Save the file in their Agent Photos folder as Initials_Agent Photos_Masked.psd
For example: CM_Agent Photos_Masked.psd
B) Open their PDF postcard template in Adobe Illustrator located in the Product Illuminate Google Drive > Markets > [Market] > Postcards > Client Templates and replace the agent photo with this one
Back to TopUpdate Photos in Presentation Links Folder
If the client has the Presentations product:
A) Navigate to the presentations links folder located at: Product Illuminate > Markets > {Market} > Presentations > Links
B) Replace the client’s 2×3 photo and circle photo
NOTE: make sure the filenames are exactly the same as they are currently. They should be “Agent Photo_{Client Name}.jpg” and “Agent Photo_{Client Name}_Circle.png”
Back to TopUpdate Photo Links in Pre-Listing Presentation and Export PDF
If the client has the Presentations product:
A) Open the client’s pre-listing presentation file located at: Product Illuminate > Markets > {Market} > Presentations > Pre-Listing Presentations
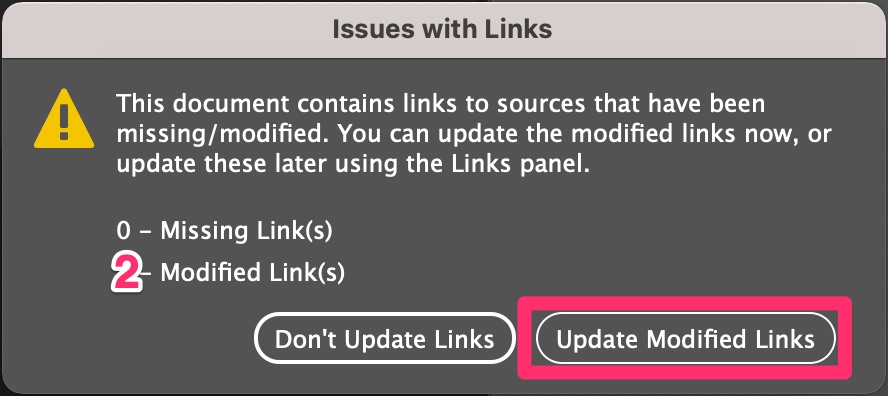
B) Since you updated the files in the previous step, you should see a dialog box appear when the file opens like the one below. Click “Update Modified Links”
C) Go to File > Adobe PDF Presets > and choose [High Quality Print]…
D) Navigate to the customer’s Presentations folder in their PUBLIC folder and click “Save” then “Replace”
E) Leave the export settings alone and click “Export”
F) Save the InDesign file and close it.
Back to TopUpdate Photo Links in Buyer's Presentation and Export PDF
If the client has the Presentations product:
A) Open the client’s buyer’s presentation file located at: Product Illuminate > Markets > {Market} > Presentations > Buyers Presentations
B) Since you updated the files in the previous step, you should see a dialog box appear when the file opens like the one below. Click “Update Modified Links”
C) Go to File > Adobe PDF Presets > and choose [High Quality Print]…
D) Navigate to the customer’s Presentations folder in their PUBLIC folder and click “Save” then “Replace”
E) Leave the export settings alone and click “Export”
F) Save the InDesign file and close it.
Back to Top