Write Postcard Copy
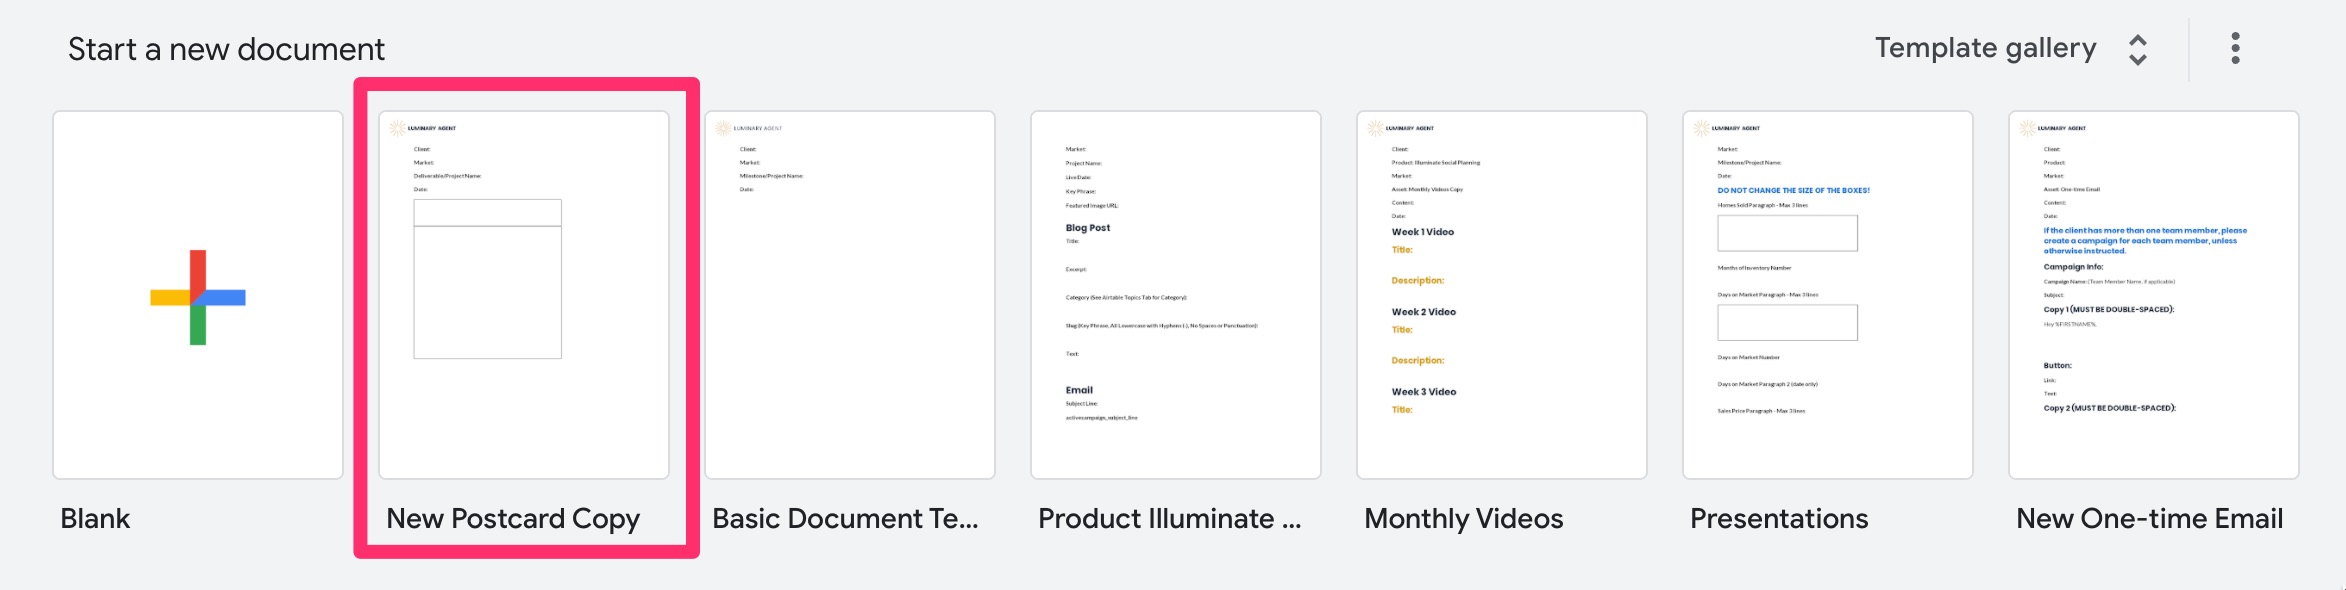
A) Create a new Google Doc from the “New Postcard Copy” template
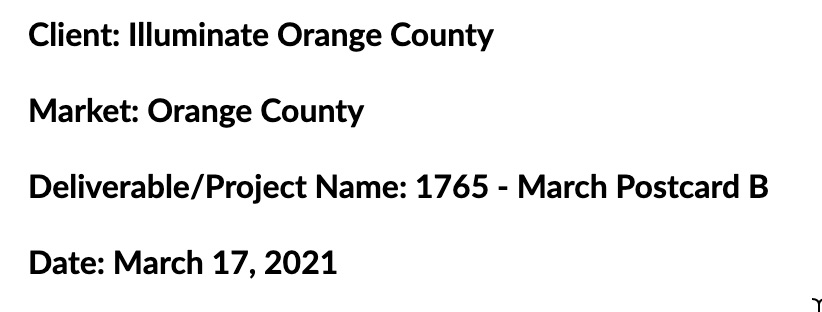
B) Fill in the header details that correspond to the project
C) Write the postcard heading and copy, making sure the copy does not increase the size of the cell. The size of the cells are the exact size of the text box on the postcard template.
D) Add a link to the Google Doc into the Postcard Copy Link block in ProcessKit
Back to TopFind Postcard Image
A) Find an image for the postcard using step one of the procedure at this link
B) Add the image link to the Postcard Image Block in ProcessKit
Back to TopCreate Master Template
A) Open the master postcard template. The master postcard template can be found in each market’s Postcards folder located in the Product Illuminate drive.
For example, the postcard template for Portland is found at Product Illuminate > Markets > Market – Portland > PDX_Postcards
B) Use the copy and image from the links in the ProcessKit project to create the master postcard template. If the text doesn’t fit in the text block, please notify the copywriter so they can reduce it.
C) Add the link to the master template into the Master Template Link block in ProcessKit
A video tutorial for this procedure can be found at this link.
Back to TopCreate Individual Postcards from Master Template
The procedure for this step can be found at this link.
Back to TopSend PDF to Customers Requesting Pre-Approval
For customers who have requested they approve the postcards before they are sent, we need to create a new Support Request and send them the PDF for approval
For a Postcard A, the customers who require approval prior to sending have the “Requires Approval” checkbox checked in the list at this link.
For a Postcard B, the customers who require approval prior to sending have the “Requires Approval” checkbox checked in the list at this link.
A) For each person in the list above who has the “Requires Approval” checkbox checked, go to the Project Folder Link referenced in ProcessKit
B) Follow the procedure at this link to create a share link
C) Follow the procedure at this link to send the postcard for approval through FreshDesk using the “[APPROVAL REQUIRED] New Postcard Design” canned response
Back to TopMove "Sends Own Postcard" Files into Customers' Public Folders
For customers who send their own postcards, we need to move the files into their Public Folder.
For a Postcard A, the customers who send their own postcards have the “Sends Own Postcard” checkbox checked in the list at this link.
For a Postcard B, the customers who send their own postcards have the “Sends Own Postcard” checkbox checked in the list at this link.
Back to Top
Upload and Send Individual Postcards
The procedure for this task can be found at this link.
The list of clients who send a Postcard A can be found at this link.
The list of clients who send a Postcard B can be found at this link.
NOTE: Please do NOT send for clients not on the list above, even if a file exists for them in Google Drive.
NOTE: Please make sure you have received approval from clients with the “Requires Approval” checkbox checked in their Airtable record.
NOTE: If any clients have their credit card declined, please email them through Freshdesk and ask them to update their credit card information. Then, create a task at the end of this task list to follow up with them, rescheduling it each day until their postcard has been ordered successfully.
Back to Top