Download Listing Details (If Not Included)
A) If the customer didn’t include the listing details PDF, use these instructions to download it yourself and add it to Google Drive
Download Listing Details Sheet
- Log in to the local MLS using the login credentials found in 1password (you may use any login available)
- For Cobb County: https://www.fmls.com/, hover over “Products” and click “Matrix”
- For Orange County: https://login.cl.crmls.org/idp/login, then click “CRMLS Matrix” on the right
- For Portland AND Vancouver WA: https://rmlsweb.com
- For Salt Lake City: https://utahrealestate.com/auth/login/
- Search for the MLS number or address provided in the ticket
- Click on the listing in the results and download the details sheet to a PDF
Gather Information
A) Gather and verify the following information:
- What are we designing: Flyer, Postcard, and/or Social. If the customer didn’t explicitly say, reply to the ticket and ask them.
- Who did they represent: the SELLER or the BUYER (see below on how to find this out)
For PDX Customers:
Look at the listing details sheet:
- If our customer represents the SELLER, they will be shown as the Agent or CoAgent
- If our customer represents the BUYER, they will be shown as the Buyer’s Agent or B/Agt
For SLC Customers:
Look at the listing details sheet:
- If our customer represents the SELLER, they will be shown as the Listing Agent or L/Agent
- If our customer represents the BUYER, they will be shown as the Buyer’s Agent or B/Agent
Create Folder & Download Assets
A) Create a new folder in the customer’s Google Drive folder:
- If it is a listing, it goes in the “Listings” folder
- If it is anything that is NOT a listing, it goes in the appropriate folder (Flyers, Postcards, Social)
B) Inside this folder, create a new folder named “Assets”
C) Download the listing photos into this “Assets” folder
- For SELLER graphics, you will download the photos from the photography company’s website (instructions below)
- For BUYER graphics, see the “Buyer Just Sold/Congratulations” instructions below
D) Download any other documents the client attached to the support request
Spotlight Home Tours
When a client forwards us a link to a Spotlight Home Tour, here are the steps to download:
- Click on the download link in the email
- Click on the “High Resolution” zip file
- Wait a few minutes for the zip file to compile and download (it will download automatically once it’s compiled)
- Move the downloaded zip file into the above “Assets” folder
TourFactory
When a client forwards us an email from TourFactory, here are the steps to download the photos:
- Click the “DOWNLOAD SITE PHOTOS” link in the email
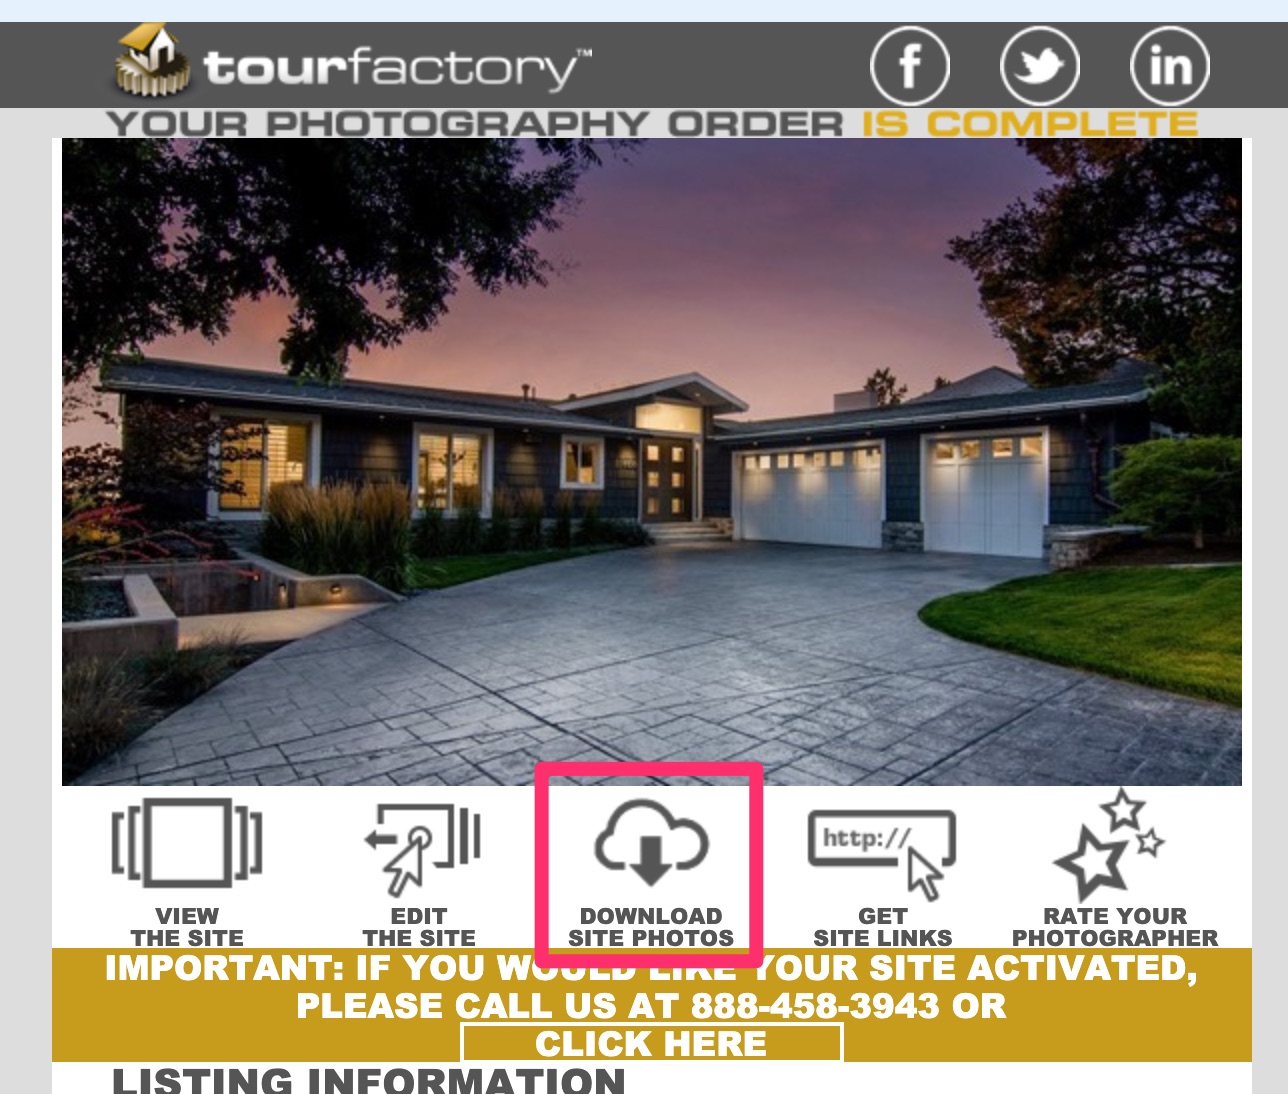
- Make sure “Full Size” is selected in the ‘Select Photo Size’ dropdown
- Click “Download All Photos” and download these into the above “Assets” folder

Buyer Just Sold/Congratulations
When our client represented the BUYER, we categorize the request as a “Buyer Congrats”. Please follow these instructions to download the photos.
NOTE: our client may call it a “Just Sold,” but if they represented the BUYER, we will ALWAYS call it a “Buyer Congrats”.
- Log in to the local MLS using the login credentials found in 1password (you may use any login available)
- For SLC: https://utahrealestate.com/auth/login/
- For Portland: https://rmlsweb.com
- Search for the MLS number listed on the listing details sheet OR the address
- Click on the photo to open the photo viewer
- Right-click and download the first photo only into the “Assets” folder you created above
[CONDITIONAL] Create the Listing Link
If the design request is a just listed social graphic, please follow the steps below to create a listing link.
A) Go to the customer’s Home Search Site as listed in their Airtable record and copy the property’s URL
If their Search Vendor is HomeJunction:
- In the search options, click “More” then enter the MLS number OR the street address into the first field and click”Add”
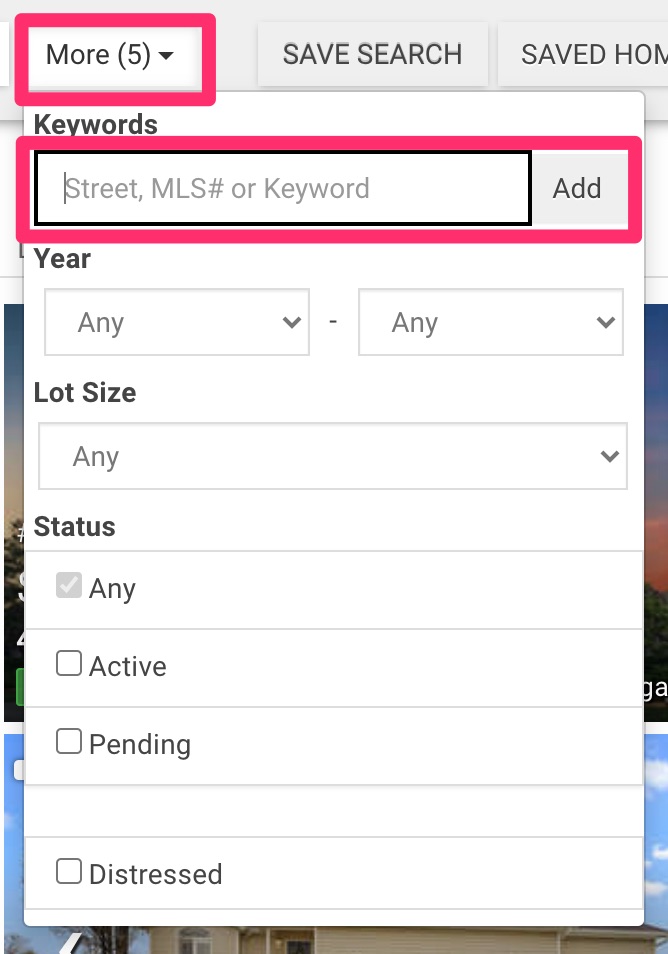
- The property list will refresh and the property will be filtered.
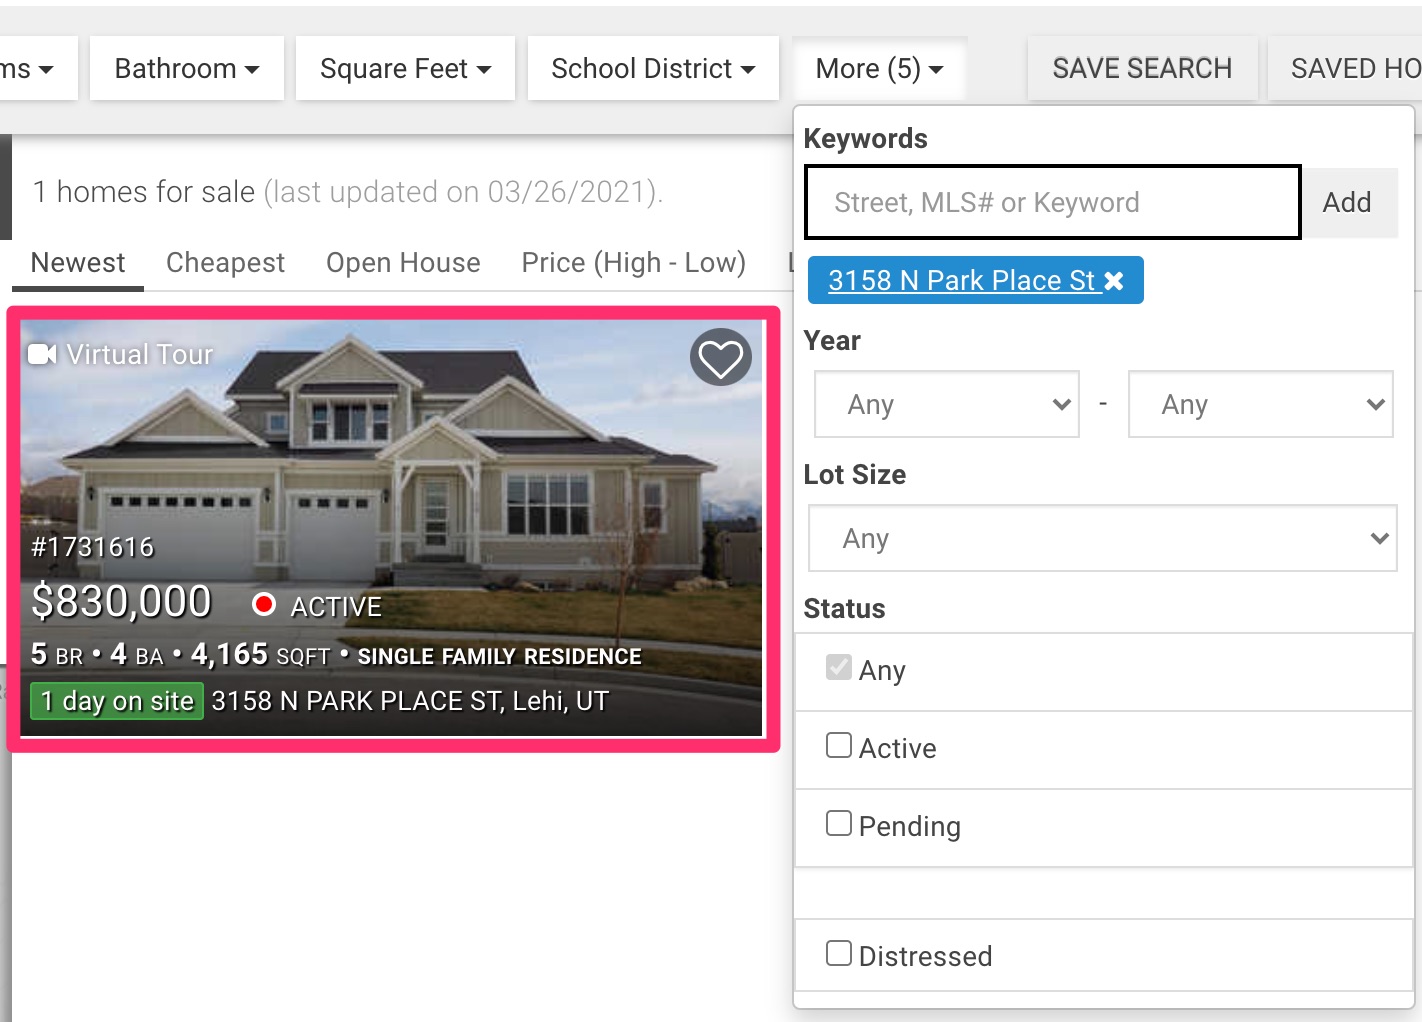
- Click on the property to view the details view
- Copy the complete URL in the address bar
If their Search Vendor is KW Command:
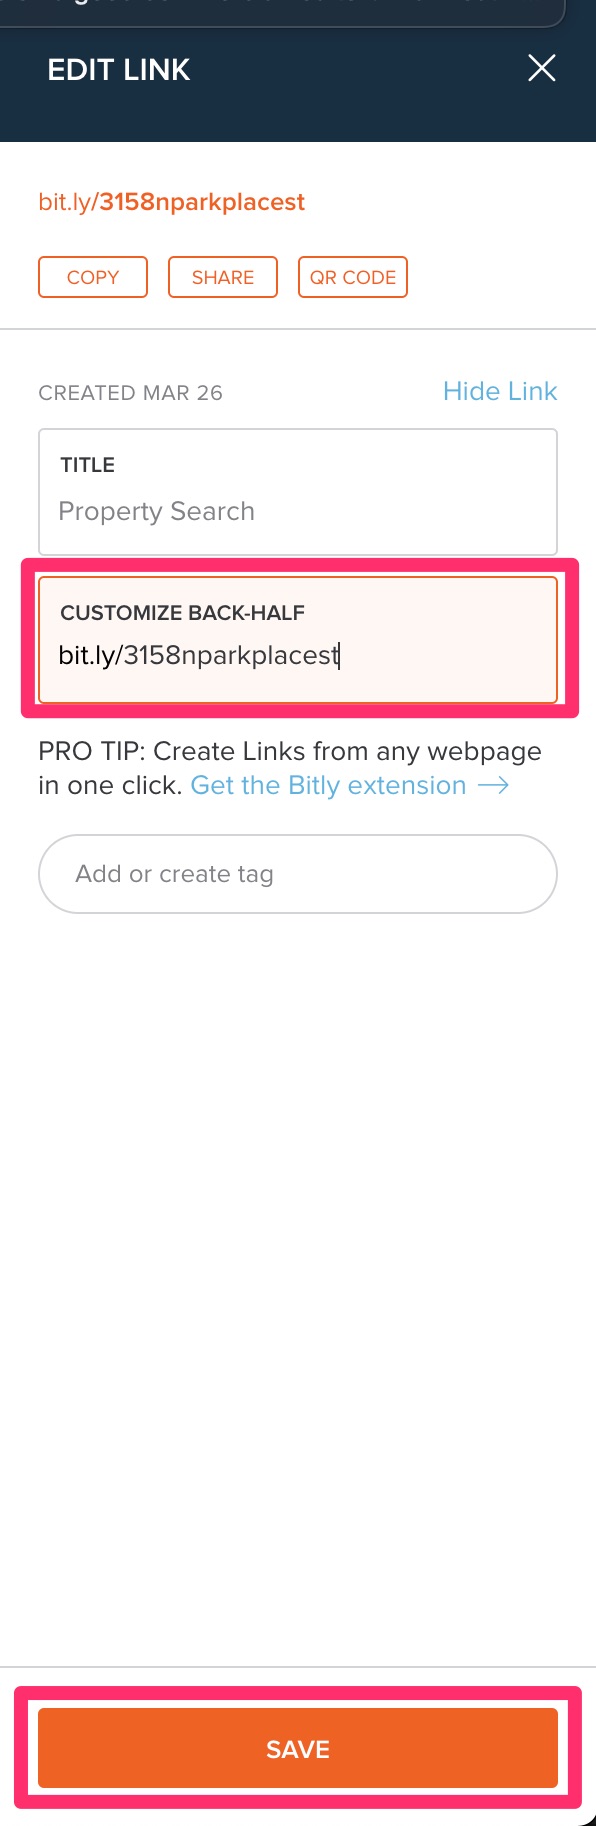
B) Go to bitly.com and login using the credentials found in 1Password
C) Click Create, then paste the URL you copied into the “Paste Long URL” field
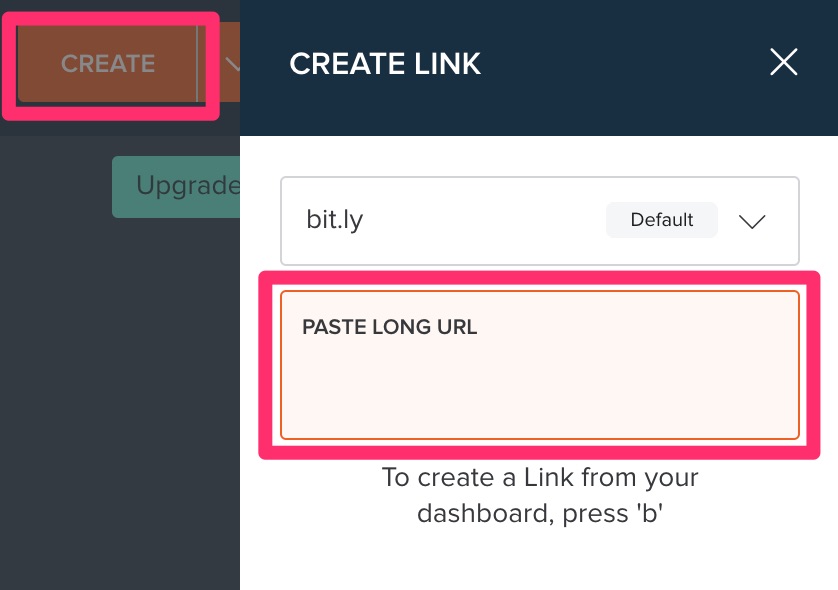
D) It will automatically create the bitly link. Then, customize the back-half with either the MLS number or the street address and click Save
E) Paste this into the project’s step one in ProcessKit
Back to TopNotify the Client
A) In Freshdesk, reply to the customer’s request
B) Click the Canned Response button
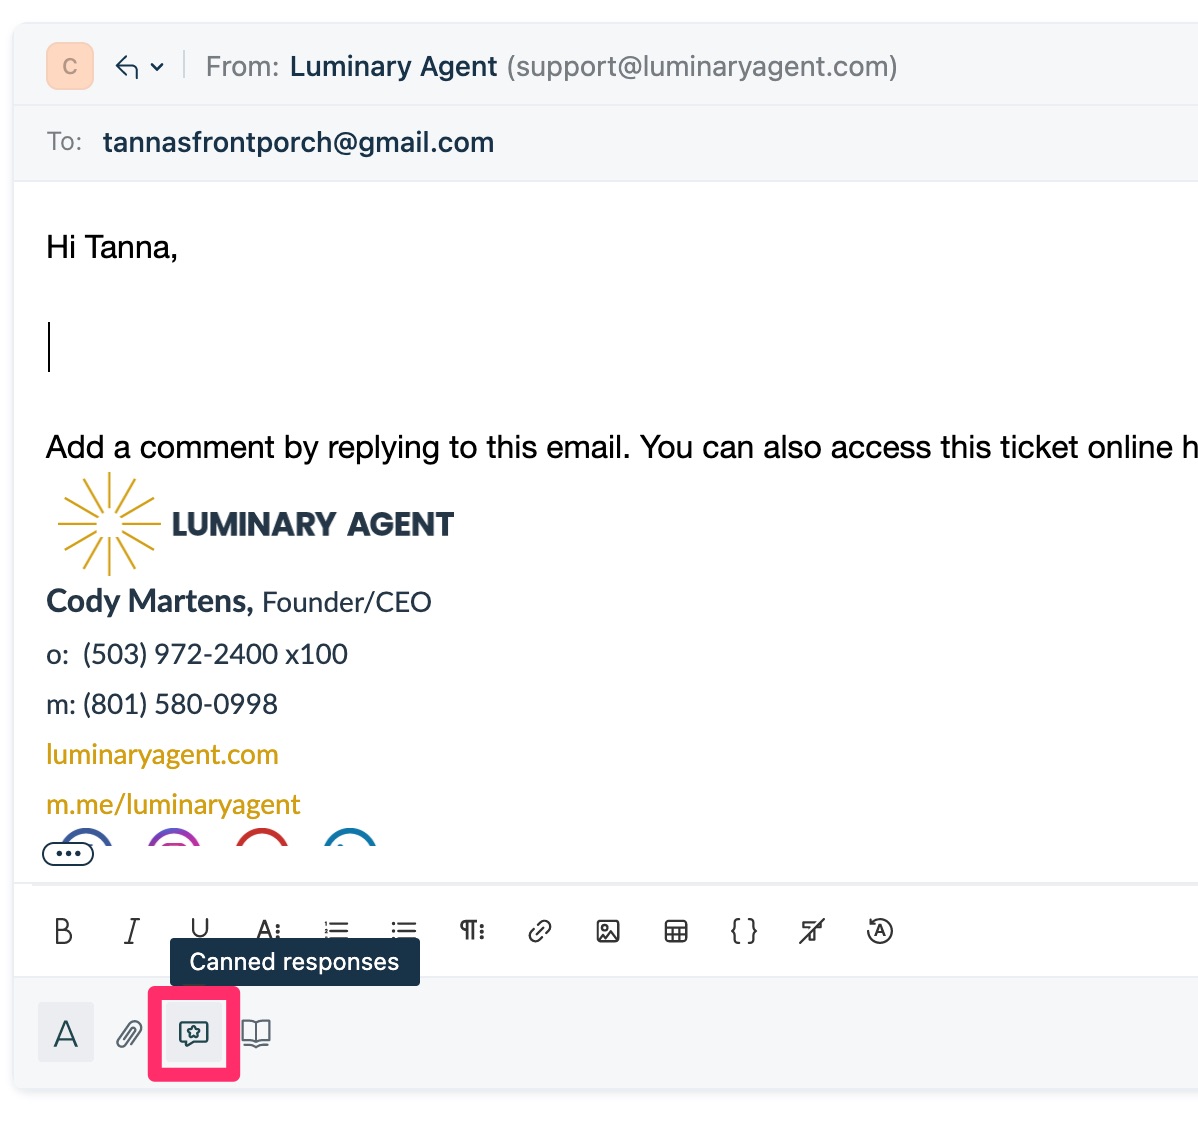
C) Click the + button next to “Design Request Initial Reply”

D) Click “Send”
Back to Top