Create Client Ticket
A) In Freshdesk, create a new email to the client by click on New > New Email
B) In the “To:” field, type the client’s {Contact Email} from Airtable
C) In the “Subject” field, copy: We’re Setting Up Your Email Account!
D) Make sure your cursor is placed at the front of your email signature and insert two blank lines, then place your cursor back on the top line
E) Click the Canned responses button
F) In the flyout, hover over the “We’re Setting Up Your Email Account” canned response and click the “Insert Canned Response” button
G) Type the client’s first name after “Hi “
H) Under Status, choose “Pending”
I) Under Type, choose “Newsletter Approvals” then click “Send”
Back to TopCreate MailerLite Account
A) Make sure you are logged out of MailerLite
B) Click this link: https://www.mailerlite.com/a/ambuwjwiuy
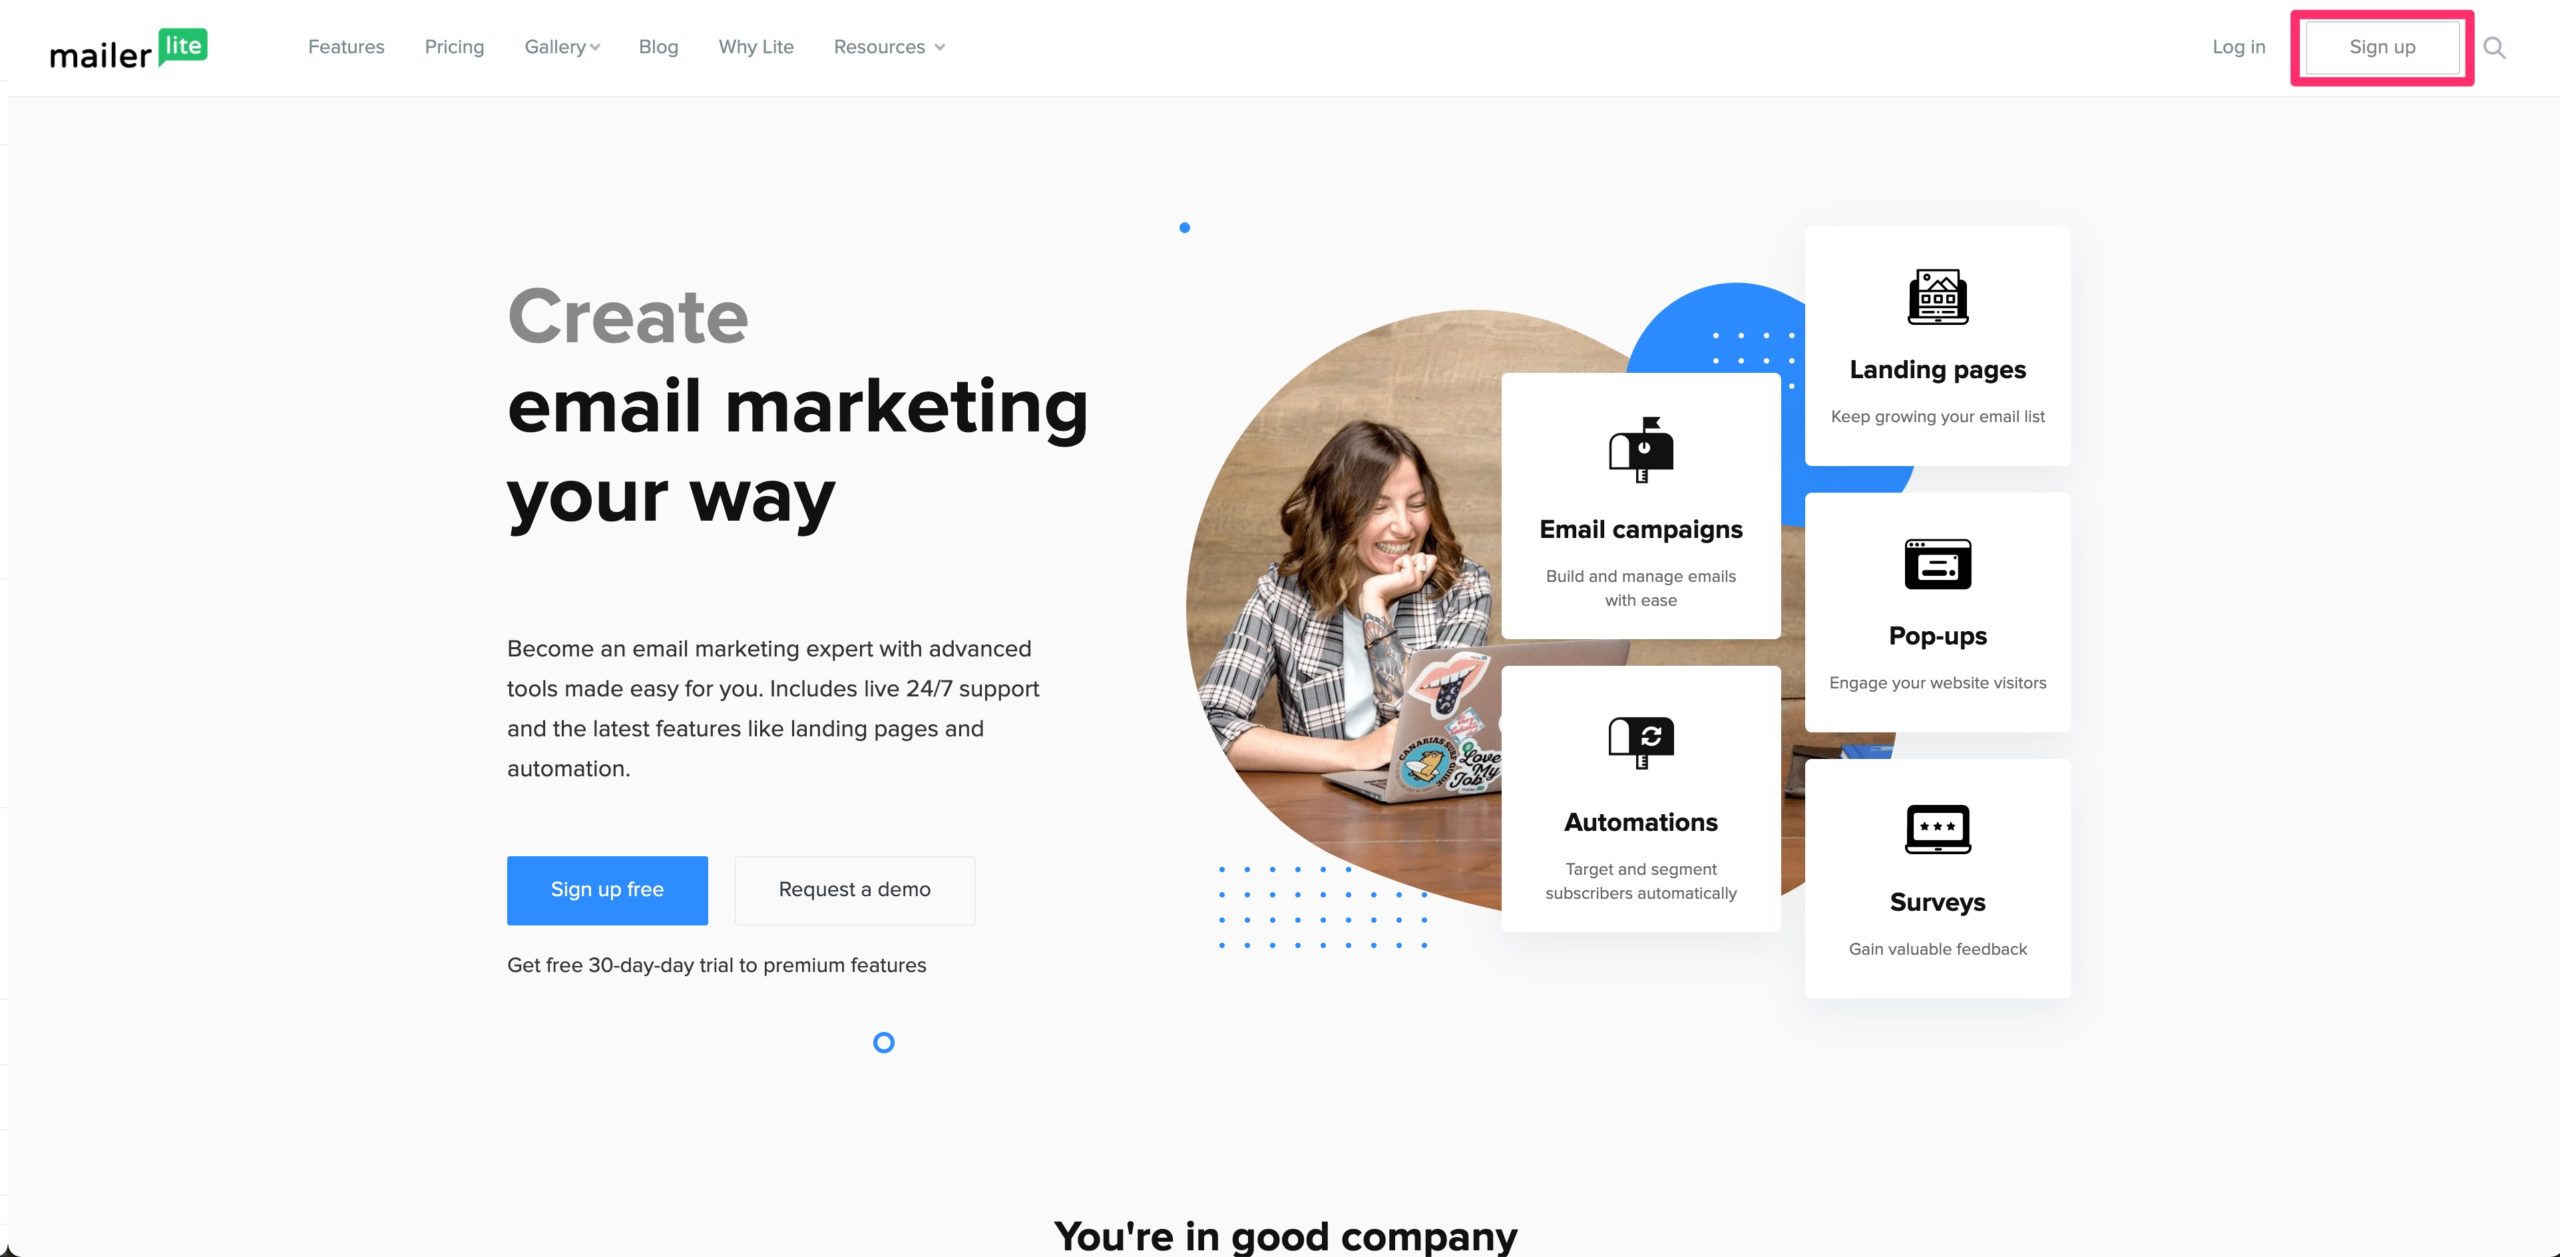
C) Click “Sign Up”
D) Fill out the following info:
- Company or Organization:
- [IF {Personal Brand} Exists] {Personal Brand} | {Company Name}
- [IF {Personal Brand} DOES NOT Exist] {Account Name} | {Company Name}
For example: Cody’sHomes | Keller Williams Realty Professionals
- Email Address: {Contact Email}
- Password: please use the 1Password password generator and save the login in 1Password
E) Click “Create my account”
Back to TopComplete Profile
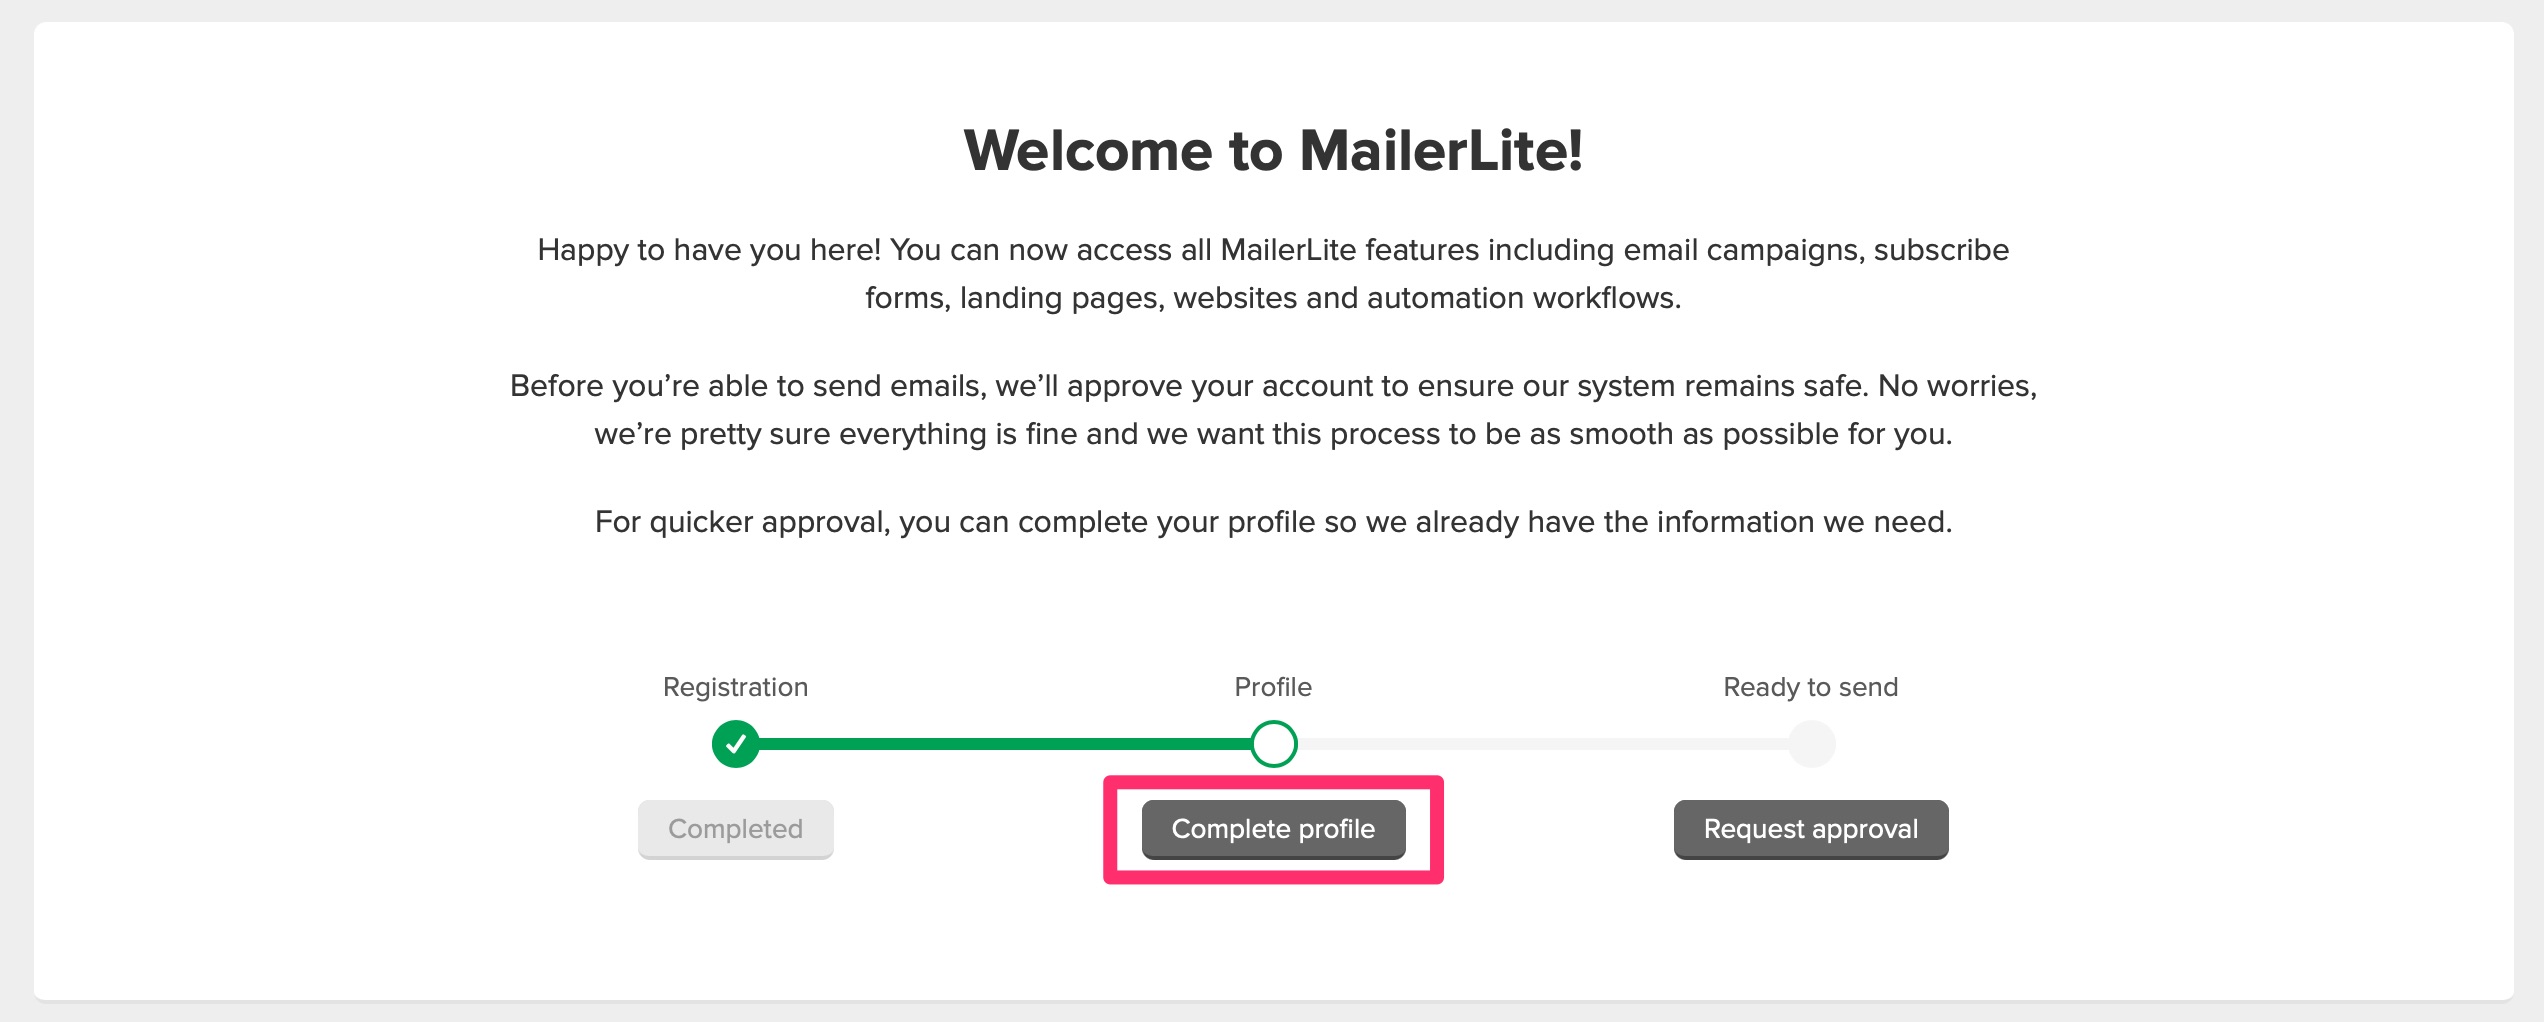
A) Once the account is created, the client would need to verify his/her email address by clicking on the link that will be sent to their email. After that you’re redirected to the dashboard, click “Complete profile”
B) Fill out the following information and click “Save”
- First name and Last name: {Contact Name}
- Address: {Company Address}
- Time Zone: Eastern, Central, Mountain, or Pacific Daylight Time (US & Canada)
- Industry: Real estate
- How many people work for your organization: 1-5
- When was the last time you sent a campaign/newsletter: < 2 months
- How many subscribers do you have: < 1,000
- How do you collect subscribers: (check first two)
- What content do you plan to send…: We will be setting up a recurring RSS campaign that will send our subscribers our newest blog posts twice a month. We have been emailing this list consistently for the past 6+ months so the list is very clean.
- Have you used another email marketing service in the past: Active Campaign
- Have you ever used other website builders before: WordPress
- Do you use any e-commerce platform: No
- How did you find out about MailerLite: Agency then type Luminary Agent in the box that comes up
- Check the MailerLite Anti-Spam box
- Do not check the MailerLite newsletter box
- Check the verification link
C) Back on the dashboard, click “Request approval”
D) If any of the client’s emails match their {Live Website URL}, choose “I would like to verify my website” and then enter the {Live Website URL}
For example: if the client’s email is [email protected] and their website domain is codymartens.com, choose this option
If none of the client’s emails match their website, choose “I don’t have my own website”. Then copy the client’s {Live Website URL} into the “Social media URL” box and paste this message into the “Tell us about your business” textbox:
Back to TopThis client has an email address that is provided by their company: {Public Email}. They are not allowed to have an email address using their website’s domain: {Live Website URL}. The subscribers in the client’s list have been consistently emailed to every two weeks for the last 6+ months.
Edit Account Settings
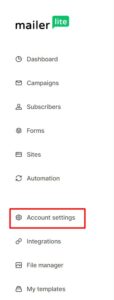
A) Click on the client’s name in the top-right of the screen and click “Account Settings”
B) Under “Company Profile”, enter the following information and click “Save”
- Website URL: {Live Website URL}
C) Under “Default Settings”, enter the following information and click “Save”
- Sender email: {Public Email} then click “Send Verification” button (if it pops up)
- Default logo: add the client’s dual logo NOTE: if the client has chosen the Dark or Mix template, upload the white version.
- Social links: add the client’s social media links from their Airtable record
- Email unsubscribe disclaimer:
- You are receiving this email because you are a client of {Contact Name}.
- [Conditional: If a KW agent]: Each Office is Independently Owned and Operated.
- Office Phone: {Company Phone}
D) Click on the client’s name in the top-right of the screen and click “Email notifications”
E) Under “System notifications” change the email address to “[email protected]” and click “Save”
Back to TopAdd/Edit Users
Once the account has been verified, add one new user: the support account
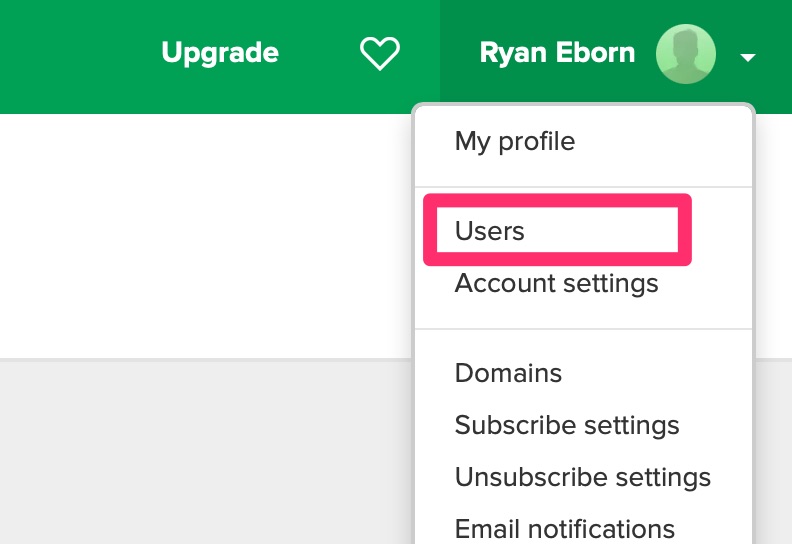
A) Click on the client’s name in the top-right of the screen and click “Users”
B) For the support account:
- Click “Add new user”enter [email protected]
- Uncheck “Require to change the password every 60 days”
- Click “Invite user to join”
C) Log out of the client’s account and login using the support email
D) Find the client’s account you created and click “Log in”
E) Click “I have read MailerLite anti-spam policy and agree then click “Save”
F) Click on the client’s name in the top-right of the screen and click “Users”
G) For the client’s account:
- Click the Edit button
- Under User type, choose “Custom user”
- Check every box EXCEPT the last box in every section and NO boxes under “Plan and billing info”
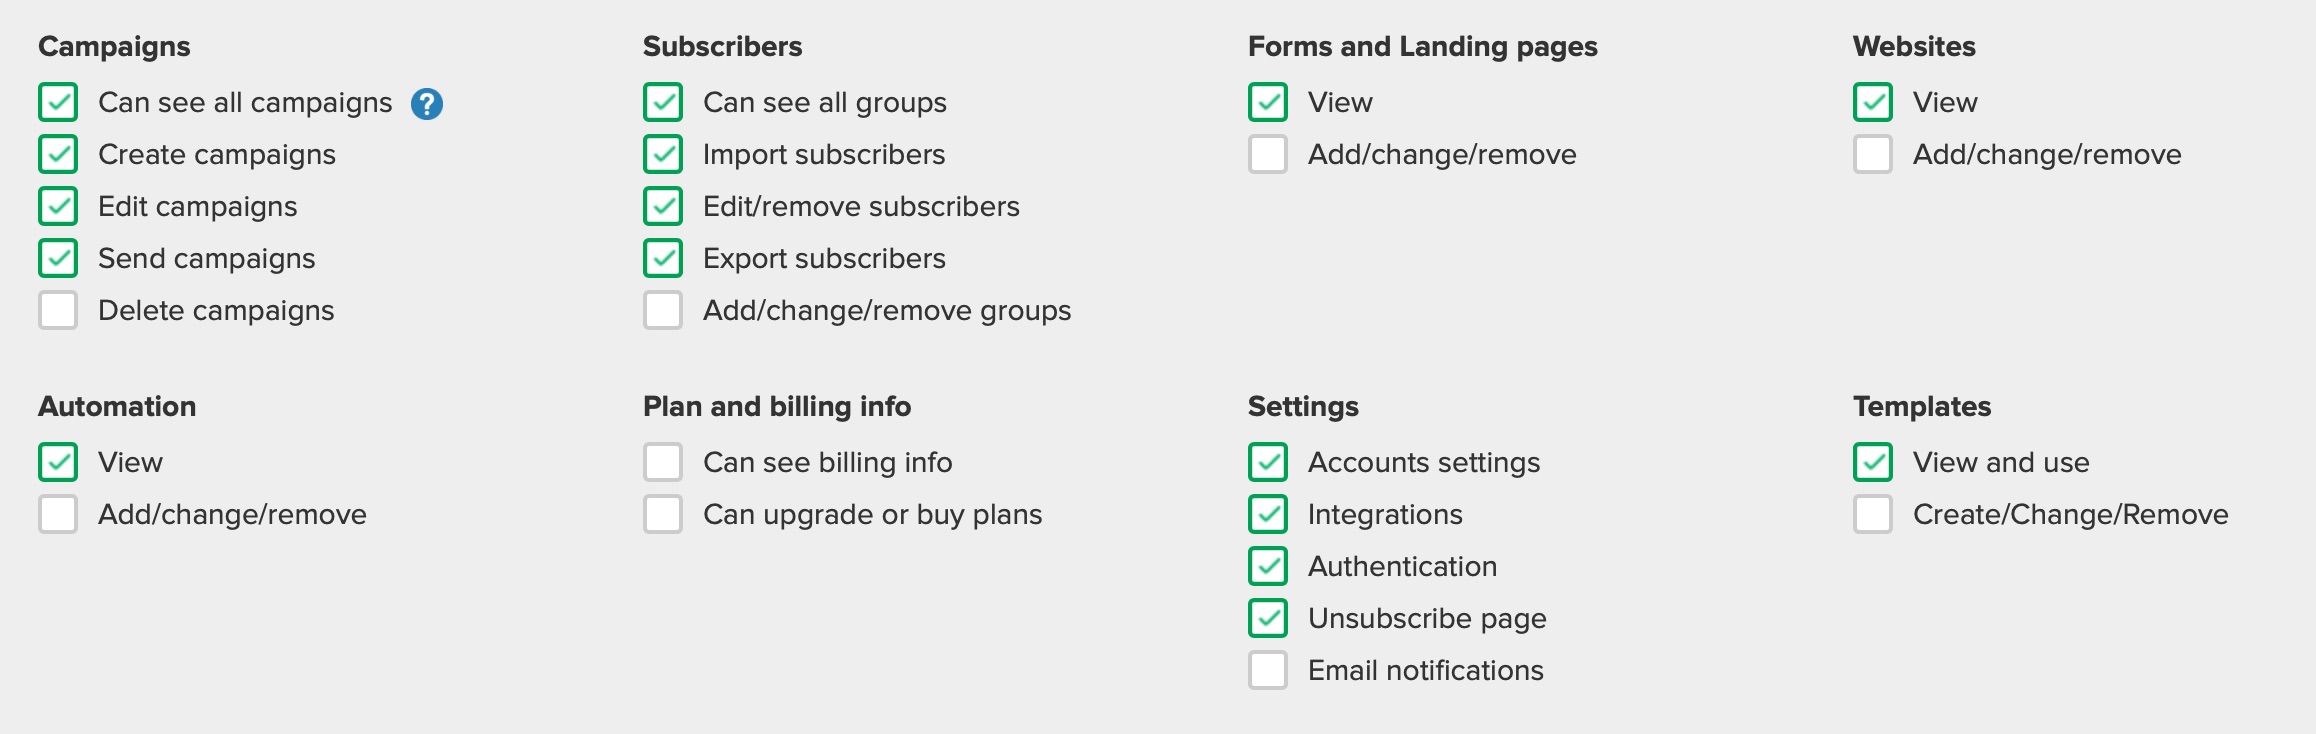
- Click “Save”
If the account has more than one contact, repeat this step to add the additional contact(s).
Back to Top[CONDITIONAL: Template - Dark] Create Template
A) Click on the client’s name in the top-right of the screen and click “My templates”
B) Click “Create template”
C) Name the template “RSS Template – Dark” and click “Next”
D) Under Drag & drop editor click “Choose”
E) Under “Template settings”, edit the following:
- Blocks type: Full width
- Background and more
- Background color: client’s Web Color One
- Preheader: #D1D3D3
F) Under “Content Settings”, edit the following, leaving all other settings as the default:
- Blocks style > Background:
- Background color: client’s Web Color One
- Menu Style > Links:
- Font color: white
- Style > Heading 1:
- Font color: white
- Font size: 24
- Style > Heading 2:
- Font color: white
- Style > Subtitle:
- Font color: white
- Font size: 16
- Style > Text:
- Font color: white
- Font size: 16
- Style > Link:
- Font color: client’s Web CTA Color
- Underline: No
- Style > Divider:
- Color: white
- Product Style > Product title:
- Font color: white
- Product Style > Price:
- Font color: white
- Product Style > Old price:
- Font color: white
G) Under “Button settings”, edit the following, leaving all other settings as the default:
- Button Design > Button:
- Background color: client’s Web CTA Color
- Border radius: 0
- Vertical spacing: 10
- Button Design > Text:
- Font size: 16
- Font weight: Bold
H) Under “Footer settings”, edit the following, leaving all other settings as the default:
- Background:
- Background: Off
- Company name:
- Font color: white
- Text, Link, and Unsubscribe (all three):
- Font/Link color: white
- Unsubscribe link:
- Link color: white
- Link underline: No
[CONDITIONAL: Template - Light] Create Template
A) Click on the client’s name in the top-right of the screen and click “My templates”
B) Click “Create template”
C) Name the template “RSS Template – Light” and click “Next”
D) Under Drag & drop editor click “Choose”
E) Under “Template settings”, edit the following:
- Blocks type: Full width
- Background and more
- Background color: top row, middle color
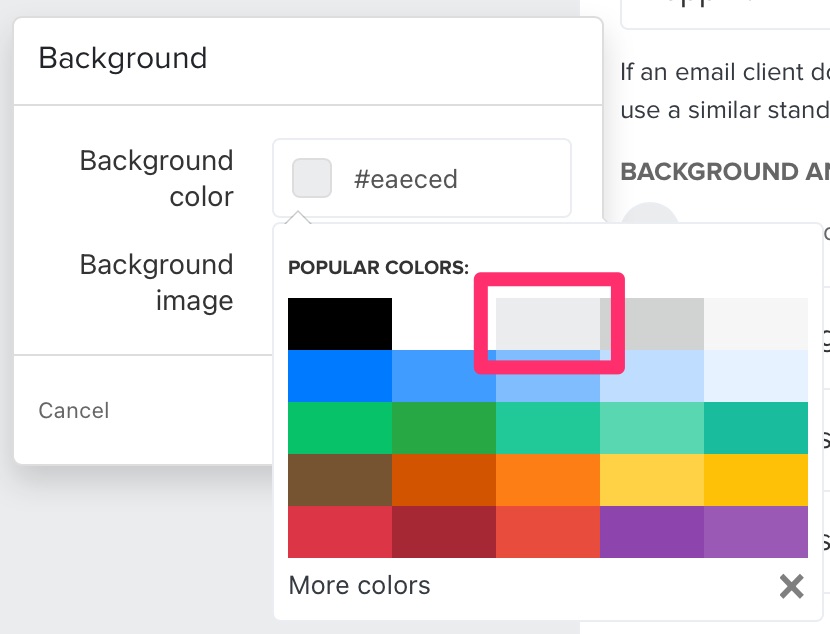
- Preheader: leave as default
- Background color: top row, middle color
F) Under “Content Settings”, edit the following, leaving all other settings as the default:
- Blocks style > Background:
- Background color: leave white
- Menu Style > Links:
- Font color: client’s Web CTA Color
- Style > Heading 1:
- Font color: client’s Web Color One
- Font size: 24
- Style > Heading 2:
- Font color: client’s Web Color Two
- Style > Subtitle:
- Font color: client’s Web Color Two
- Font size: 16
- Style > Text:
- Font color: leave as default
- Font size: 16
- Style > Link:
- Font color: client’s Web CTA Color
- Underline: No
- Style > Divider:
- Color: client’s Web Color One
- Product Style > Product title:
- Font color: white
- Product Style > Price:
- Font color: white
- Product Style > Old price:
- Font color: white
G) Under “Button settings”, edit the following, leaving all other settings as the default:
- Button Design > Button:
- Background color: client’s Web CTA Color
- Border radius: 0
- Vertical spacing: 10
- Button Design > Text:
- Font size: 16
- Font weight: Bold
H) Under “Footer settings”, edit the following, leaving all other settings as the default:
- Background:
- Background: Off
- Company name:
- Font color: client’s Web Color One
- Text, Link, and Unsubscribe (all three):
- Font/Link color: client’s Web Color One
- Unsubscribe link:
- Link color: client’s Web Color One
- Link underline: No
[CONDITIONAL: Template - Mix] Create Template
A) Click on the client’s name in the top-right of the screen and click “My templates”
B) Click “Create template”
C) Name the template “RSS Template – Mix” and click “Next”
D) Under Drag & drop editor click “Choose”
E) Under “Template settings”, edit the following:
- Blocks type: Full width
- Background and more
- Background color: client’s Web Color One
- Preheader: #D1D3D3
F) Under “Content Settings”, edit the following, leaving all other settings as the default:
- Blocks style > Background:
- Background color: leave white
- Menu Style > Links:
- Font color: {Web Color CTA}
- Style > Heading 1:
- Font color: {Web Color One}
- Font size: 24
- Style > Heading 2:
- Font color: {Web Color Two}
- Style > Subtitle:
- Font color: {Web Color Two}
- Font size: 16
- Style > Text:
- Font color: leave as default
- Font size: 16
- Style > Link:
- Font color: {Web Color CTA}
- Underline: No
- Style > Divider:
- Color: white
- Product Style > Product title:
- Font color: white
- Product Style > Price:
- Font color: white
- Product Style > Old price:
- Font color: white
G) Under “Button settings”, edit the following, leaving all other settings as the default:
- Button Design > Button:
- Background color: {Web Color CTA}
- Border radius: 0
- Vertical spacing: 10
- Button Design > Text:
- Font size: 16
- Font weight: Bold
H) Under “Footer settings”, edit the following, leaving all other settings as the default:
- Background:
- Background: Off
- Company name:
- Font color: white
- Text:
- Font color: white
- Link:
- Link color: {Web Color CTA}
- Unsubscribe:
- Font color: white
- Unsubscribe link:
- Link color: white
- Link underline: No
Insert and Format Blocks
A) Delete all of the pre-loaded blocks except the pre-header block.
B) Insert and format each of the following blocks, leaving all other settings as the default.
1) Block name: Logo
Settings
- Logo alignment: Left
- Logo width: 250
- Design Settings > Background:
- Background: Off
2) Block name: Title + Button
Content
- Heading 1:
- [IF Industry = Real Estate] {Market} Real Estate News
- [IF Industry = Mortgage] Mortgage News
- Button: CALL ME ☎
- Button link: tel:{SMS phone number}
For example: tel:18015800998
Settings
- Top Padding: 50
- Bottom Padding: 30
- Design settings > Background:
- Background: Off
- Design settings > Heading 1:
- [Dark or Mix ONLY] Font color: white
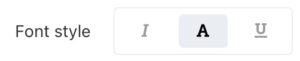
- Font style: All caps
- Button settings > Button design > Button:
- Background color: same as template background
- Vertical spacing: 8
- Button settings > Button design > Text:
- Font color: {Web Color CTA}
- Font size: 16
3) Block name: Text
[CONDITIONAL – Real Estate] – Content
- In the textbox, click the “HTML” button and paste the following:
<p>Twice a month, we send out a little something to help you make the most of this amazing city we call home. And of course, if you have a question about real estate or know someone who does, call me anytime.</p>

<p><a href="https://luminaryagent.com" style="display: inline-block; margin-right: 40px; white-space: nowrap;">My Testimonials →</a><a href="#" style="display: inline-block; white-space: nowrap;">Download My App →</a></p> - Place the cursor anywhere in the “My Testimonials” link, click “Edit” in the popup, change the URL to the client’s testimonials link from their website, and click “Save”
- Place the cursor anywhere in the “Download My App” link, click “Edit” in the popup, change the URL to the {App Link}, and click “Save” NOTE: if the client doesn’t have an app link, link to their website’s blog, changing the link text to, “Read My Blog →” instead.
[CONDITIONAL – Mortgage] – Content
- In the textbox, click the “HTML” button and paste the following:
<p>Twice a month, we send out a little something to help educate you as much as possible about homeownership. And of course, if you have a question about home loans or know someone who does, call me anytime.</p>

<p><a href="https://luminaryagent.com" style="display: inline-block; margin-right: 40px; white-space: nowrap;">My Testimonials →</a><a href="#" style="display: inline-block; white-space: nowrap;">Apply for a Loan →</a></p> - Place the cursor anywhere in the “My Testimonials” link, click “Edit” in the popup, change the URL to the client’s testimonials link from their website, and click “Save”
- Place the cursor anywhere in the “Apply for a Loan” link, click “Edit” in the popup, change the URL to the {App/ly Link}, and click “Save” NOTE: if the client doesn’t have an app/ly link, link to their website’s blog, changing the link text to, “Read My Blog →” instead.
Settings
- Top padding: 0
- Bottom padding: 100
- Design Settings > Background:
- Background: Off
- Design settings > Text
- [Dark or Mix ONLY] Font color: white
4) [CONDITIONAL] Block Name: Divider
If using the Dark template, add a Divider block.
- Top padding: 10
- Bottom padding: 10
Check box “Apply to all newly added blocks too” and click “Apply”
5) Block name: Title
Content
- Heading 1: This Week’s Featured Article
Settings
- Top padding: 100
- Bottom padding: 0
- Design Settings > Heading 1:
- Font color: {Web Color Two} – NOTE: if it’s too dark, please lighten until legible
- Font size: 18
- Font weight: Normal
- Font style: All caps
6) Block name: Divider
- Top padding: 10
- Bottom padding: 30
- Divider settings > Divider width: option 3
- Divider settings > Color: {Web Color Two} – NOTE: if it’s too dark, please lighten until legible
7) Block name: RSS list
Content
- RSS feed URL: {Live Website URL}/feed/mailerlite/, then click the green “Return” button
For example: https://codymartens.com/feed/mailerlite/
Settings
- Top padding: 10
- Bottom padding: 100
- Design settings > Heading 2:
- [Dark ONLY] Font color: white
- [Light or Mix ONLY] Font color: {Web Color One}
- Font size: 24
- Font style: All caps
- Alignment: Center
- Design settings > Text:
- Alignment: Center
- Design settings > Read more link:
- Link color: {Web Color CTA}
- Font size: 22
- Font weight: Bold
- Underline: No
- RSS settings > Show: Full Content
- RSS settings > Read more link text: READ THE ARTICLE →
8) [CONDITIONAL] Block Name: Divider
If using the Dark template, add a Divider block.
9) [Conditional] Block name: Title – duplicate block D
Note: Only create this block of the client has the Listings product
Content
- Heading 1: This Week’s Featured Listing
Settings
- Design Settings > Background:
- Background: Off
10) [Conditional] Block name: Divider – duplicate block E
Note: Only create this block of the client has the Listings product
- Design Settings > Background:
- Background: Off
11) [Conditional] Block name: Gallery 1
Note: Only create this block of the client has the Listings product
- Top padding: 10
- Design Settings > Background:
- [Dark ONLY] Background: Off
- [Light or Mix ONLY] Background: #EAECED
12) [Conditional] Block name: Featured button
Note: Only create this block of the client has the Listings product
Content
- Heading 1: Listing Address
- Subtitle: $500,000
- Text: This 3 bed, 2 bath is sure to please! Check out the exposed brick wall, the hickory flooring throughout, and the gorgeous skylight. And did we mention the black quartz countertops? Mamma-mia!
- Button: FIND OUT MORE →
- Button link: #
Settings
- Bottom padding: 100
- Design settings > Background:
- Background: Off
- Design settings > Title:
- Font style: All caps
- Button settings > Button style:
- Background color: same as template background color
- Button settings > Text:
- Font color: {Web CTA Color}
- Font size: 20
13) [CONDITIONAL] Block Name: Divider
If using the Dark template, add a Divider block.
14) Block Name: 2 products
Block-level settings
- Top padding: 100
- Bottom padding: 100
- Design settings > Block design settings > Background:
- [Dark ONLY] Background: Off
- [Light or Mix ONLY] Background color: {Web Color Two}
- Design settings > Block design settings > Text:
- Font color: White
- Design settings > Product design settings > Product title:
- Font style: All caps
Product 1 content
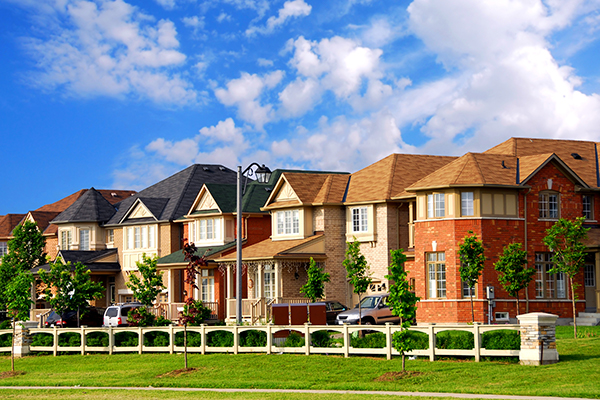
- Image: Drag this image into the upload box

- Title:
- If Real Estate Client: Wanna Buy?
- If Mortgage Client: Wanna Purchase?
- Text: Buying a house can be a complex process. If you’d like to know more about how it works, check out our buyer’s guide!; Select All then Align Center
- Price: delete
- Button: GET THE GUIDE →
- Button link:
- If Real Estate Client: {Live Website URL}/buy/ Note: if the client doesn’t have one of our websites, this may be different!
- If Mortgage Client: {Live Website URL}/purchase/ Note: if the client doesn’t have one of our websites, this may be different!
Product 2 content
- Drag this image into the upload box
- Title:
- If Real Estate Client: Wanna Sell?
- If Mortgage Client: Wanna Refinance?
- Text: Note: After you’ve pasted the text, select it, and click Align Center!
- If Real Estate Client: Thinking of selling your house but not sure what to do? Check out our seller’s guide and request a market analysis today!
- If Mortgage Client: Thinking of refinancing your house but not sure what to do? Check out our guide to refinancing your home today!
- Price: delete
- Button: GET THE GUIDE →
- Button link:
- If Real Estate Client: {Live Website URL}/sell/ Note: if the client doesn’t have one of our websites, this may be different!
- If Mortgage Client: {Live Website URL}/refinance/ Note: if the client doesn’t have one of our websites, this may be different!
15) [CONDITIONAL] Block Name: Divider
If using the Dark template, add a Divider block.
16) Block Name: Horizontal text + image
[CONDITIONAL – Real Estate] – Content
- Image: use client’s email circle image
- Heading 2: {Contact Name}
- Subtitle: delete
- Text: In the textbox, click the “HTML” button, paste the following code, click the “HTML” button again, and edit the text as shown below
<p>{Title}<br> </p>
<p><strong><a style="font-size: 20px;" href="tel:15039722400">{Phone}</a></strong></p>
<p><a href="mailto:{Public Email}">{Public Email}</a><br> </p>
<p><a href="#">Read My Testimonials →</a></p>
<p><a href="#">Search for Homes →</a></p>
<p><a href="#">Download My App →</a></p>- Title: {Title}
- Phone – place cursor in the link, click “Edit”:
- URL: tel:{SMS Phone Number}
- Text: {Phone}
- Email – place cursor in the link, click “Edit”:
- URL: mailto:{Public Email}
- Text: {Public Email}
- Testimonials link- place cursor in the link, click “Edit”:
- URL: client’s testimonials link from their website
- Search link- place cursor in the link, click “Edit”:
- URL: {Home Search URL} Note: if they don’t have a search link, delete this link
- App link- place cursor in the link, click “Edit”:
- URL: {App/ly Link} Note: if they don’t have an app/ly link, delete this link
[CONDITIONAL – Mortgage] – Content
- Image: use client’s email circle image
- Heading 2: {Contact Name}
- Subtitle: delete
- Text: In the textbox, click the “HTML” button, paste the following code, click the “HTML” button again, and edit the text as shown below
<p>{Title}<br> </p>
<p><strong><a style="font-size: 20px;" href="{Phone, numbers only}">{Phone}</a></strong></p>
<p><a href="mailto:{Public Email}">{Public Email}</a><br> </p>
<p><a href="#">Read My Testimonials →</a></p>
<p><a href="#">Apply for a Loan →</a></p>- Title: {Title}
- Phone – place cursor in the link, click “Edit”:
- URL: tel:{SMS Phone Number}
- Text: {Phone}
- Email – place cursor in the link, click “Edit”:
- URL: mailto:{Public Email}
- Text: {Public Email}
- Testimonials link- place cursor in the link, click “Edit”:
- URL: client’s testimonials link from their website
- App/ly link- place cursor in the link, click “Edit”:
- URL: {App/ly Link} Note: if they don’t have an app/ly link, delete this link
Settings
- Top padding: 100
- Bottom padding: 50
- Image/layout size: Medium
- Content alignment: Middle
- Design settings > Background:
- Background: Off
- Design settings > Heading 2:
- Font color:
- Dark or Mix: White
- Light: {Web Color One}
- Font size: 24
- Font style: All caps
- Font color:
- Design settings > Text:
- Font color:
- Dark or Mix: white
- Light: client’s Web Color One
- Font color:
17) Block name: Footer 2
Settings
- Social links settings > Social links shape: Outlined circle
- Social links settings > Social links color: Color Note: use white if color is hard to read
- Social links settings > Size: 32
Import Subscribers and Rename Group
A) Go to Subscribers and click “Add subscribers”
B) Select the client’s subscriber list and click “Import”
C) Select the group and match all of the fields
D) Click “Finish adding subscribers”
E) Click “Groups”, click “Edit”, and click “Rename Group”
F) Rename the group to: “Email Newsletter” and click “Rename”
Back to TopCreate Campaign
A) Go to “Campaigns”, click “Create Campaign”, then click “RSS campaign”
B) Enter the following information and click “Next”
- RSS feed URL: {Live Website URL}/feed/mailerlite/
- Subject: {$feed_title}
C) Enter the following information and click “Next: CONTENT”
- Send: every week, Tuesday, 10
- Check “Show only the new posts”
D) Hover over the RSS Template and click “Select”
E) Make sure the latest blog loaded into the RSS list block, then click “Done editing”
F) Select “Email Newsletter” then click “Next: Review and confirm”
G) Click “Schedule”
H) Check “Use Google Analytics link tracking to track clicks from your campaign”
I) Click “Send”
Back to Top