Create and Save Logo Files
A) First, navigate to Product Illuminate > Markets > {Market} > Presentations > Links and see if the {Company Brand} logos exist or not. If they do not, please follow steps B-E for both {Company Brand} and {Personal Brand}
B) In Adobe Illustrator’s CC Library panel, navigate to the CC Library for this customer’s market
C) Right-click on the customer’s personal logo and click “Edit”
D) In the file that opens:
- Go to File > Save As…
- Navigate to Product Illuminate > Markets > {Market} > Presentations > Links
- Name the file Logo_{Personal Brand}
- Click “Save”
E) Complete steps B-D for the white version as well, adding “_White” at the end of the filename when you save
Back to TopAdd Client Information into Presentations Spreadsheet
A) Open the .csv data file for the market you need located in Product Illuminate > Markets > {Market} > Presentations
B) In a new line, enter all of the information for the customer. The following guide represents each column letter and the info needed.
*NOTE: for all logo file references, the files MUST be saved in Product Illuminate > Markets > {Market} > Presentations > Links
- A: {Contact Name}
- B: {Phone Number}
- C: {Public Email}
- D: {Live Website}
- E: {Company Brand}
- F: {Company Address, STREET ONLY}
- G: {Company Address, CITY, STATE, ZIP ONLY}
- H: {Company Phone}
- I: {Company Disclaimer} PLUS {Customer Disclaimer}
- J: Brokerage Logo file reference*
- K: Brokerage Logo White file reference*
- L: Agent Logo file reference*
- M: Agent Logo White file reference*
- N: Agent Photo file reference, (3×2, not 1×1)*
- O: Agent Photo Round file reference*
- P: Bio Paragraph One ONLY
- Q: Bio Paragraph Two ONLY, if present
- R: Bio Paragraph Three ONLY, if present
- S: Bio Paragraph Four ONLY, if present
- T: Seller Testimonial 1 Name
- U: Seller Testimonial 1 Info (All paragraphs, please activate cell, then copy)
- V: Seller Testimonial 2 Name
- W: Seller Testimonial 2 Info (All paragraphs, please activate cell, then copy)
- X: Seller Testimonial 3 Name
- Y: Seller Testimonial 3 Info (All paragraphs, please activate cell, then copy)
- Z: Buyer Testimonial 1 Name
- AA: Buyer Testimonial 1 Info (All paragraphs, please activate cell, then copy)
- AB: Buyer Testimonial 2 Name
- AC: Buyer Testimonial 2 Info (All paragraphs, please activate cell, then copy)
- AD: Buyer Testimonial 3 Name
- AE: Buyer Testimonial 3 Info (All paragraphs, please activate cell, then copy)
- AF-AR: Copy Previous Row’s Data
Merge InDesign Document
A) Go to Product Illuminate > Setup > Pre-Listing Presentation and open the Pre-Listing Presentation InDesign document
B) If it asks you to update links, click “Update Modified Links”
C) In the Data Merge panel, click on the panel options and click “Select Data Source…”
D) Select the .csv file you just edited
E) Click the “Preview” checkbox at the bottom of the Data Merge panel, click the “Last Record” button, and confirm this is the correct customer’s info
F) Click the “Merge Records” button, make sure the correct record number is in the “Single Record” box, and click “OK”. Make sure the “No overset text” alert appears.
NOTE: If there is overset text, this means there is text present longer than the box it fits into. In this case, the text must be reduced.
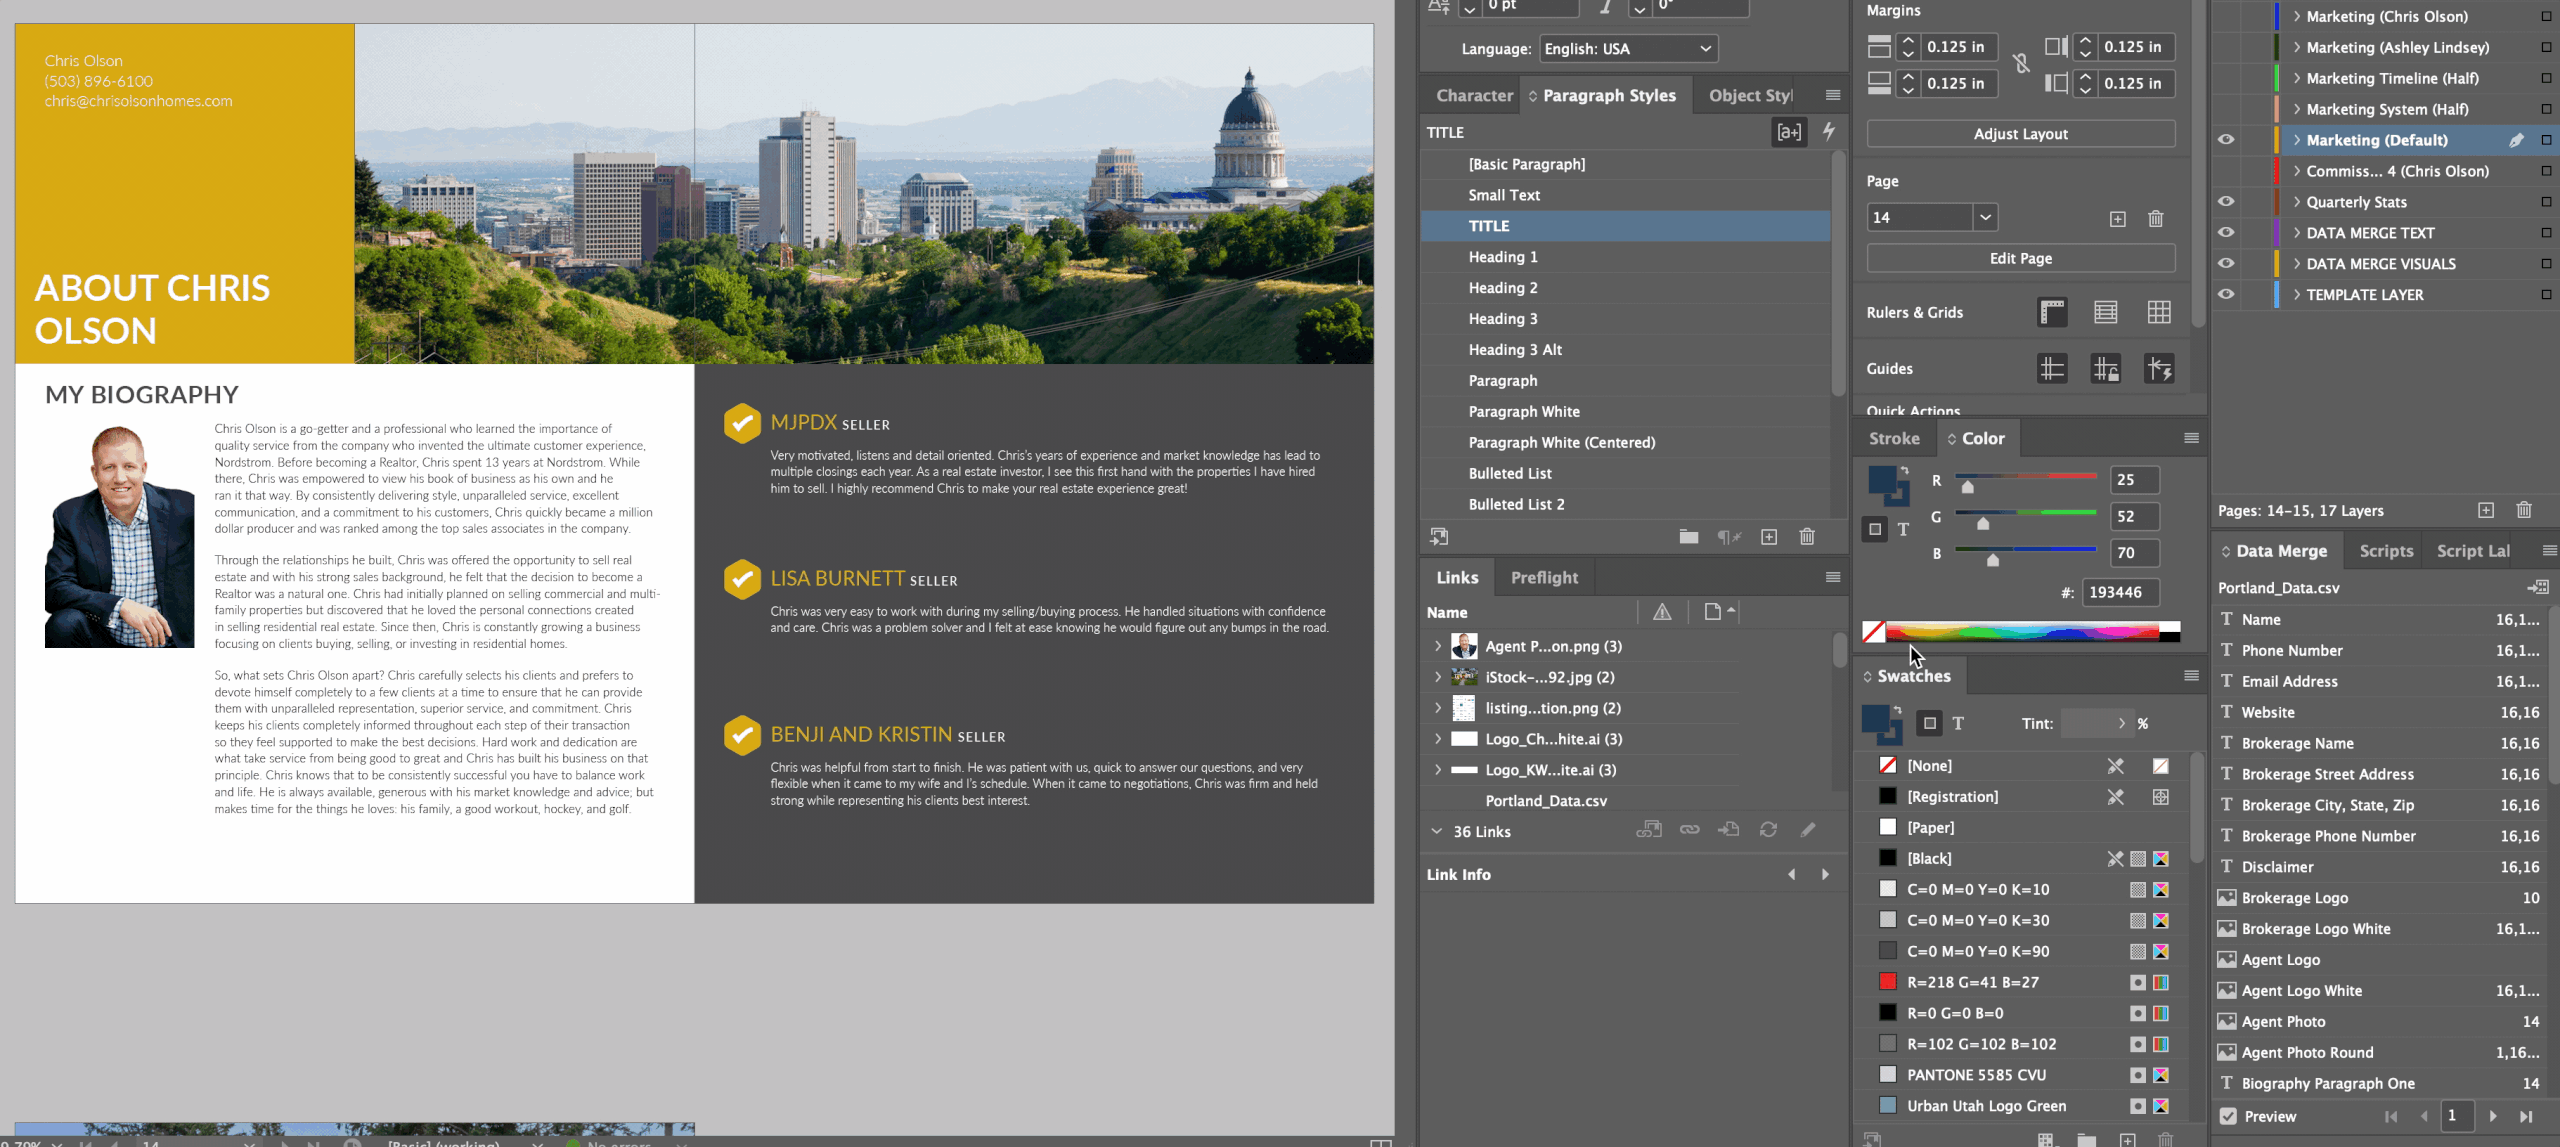
Edit and Save the Presentation
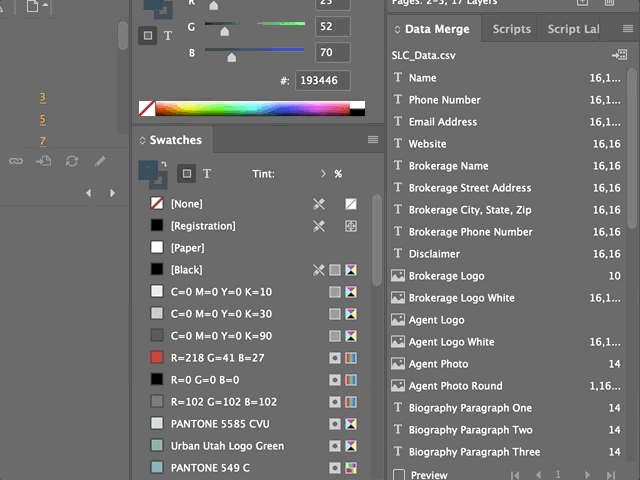
A) In the merged document, check the Swatches panel to see if the customer’s swatch is present.
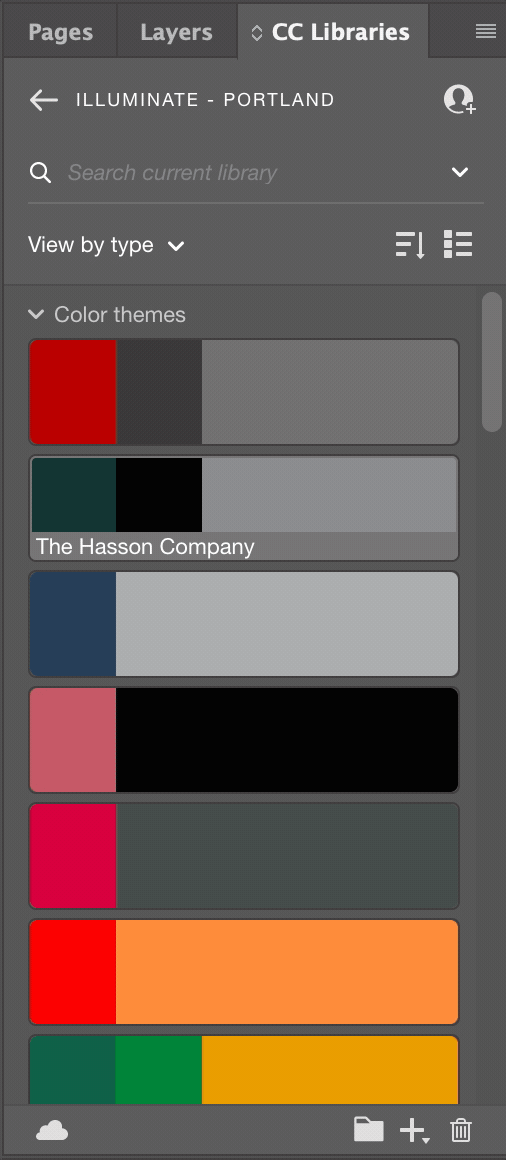
If not, go to the CC Libraries panel, find the library and swatch for the customer, right click, and click “Add theme to swatches”
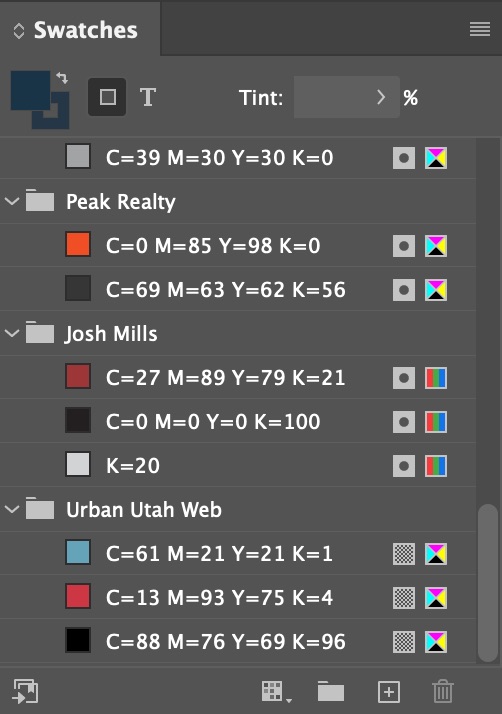
B) Back in the swatches panel, select the yellow swatch under the “Luminary Agent” group and drag it to the trash can
C) In the dialog box that appears, choose the client’s {Print Color One} from their swatch group and click “OK”
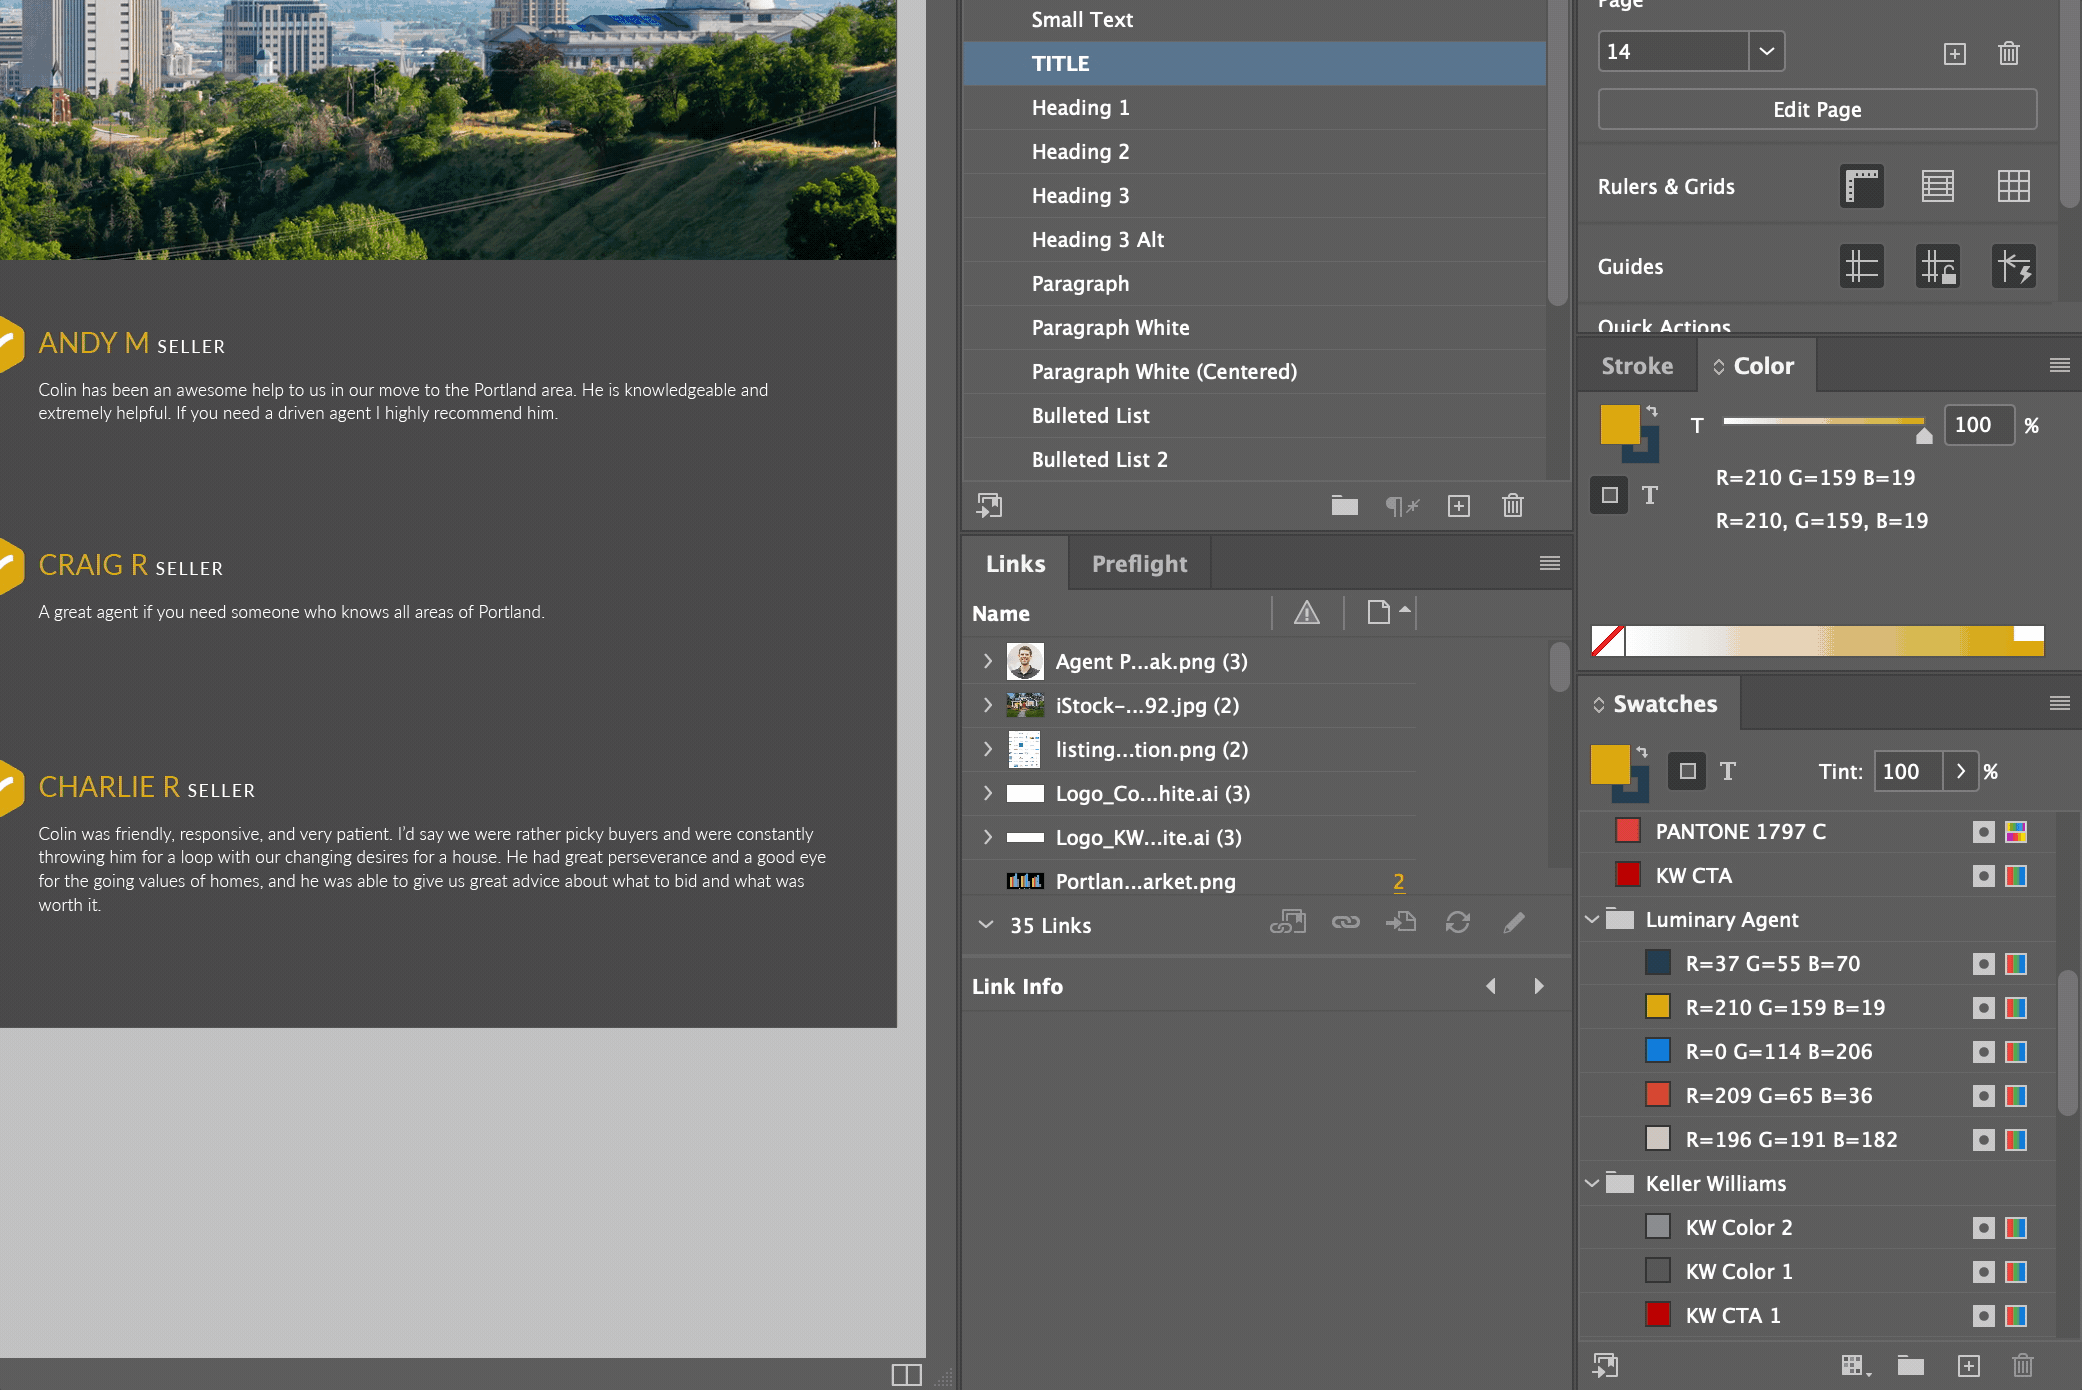
D) Repeat steps B and C for the dark blue swatch under the “Luminary Agent” group, this time selecting the client’s {Print Color Two} OR {Print Color Three}, WHICHEVER IS LIGHTER
E) Save the file in the MARKET’S presentation folder, the same folder from Step 1A, naming it “Pre-Listing Presentation_{Contact Name}”
Back to TopExport the File as a PDF
A) Go to File > Adobe PDF Presets… > High Quality Print…, navigate to the client’s Public Folder > Presentations (If this folder doesn’t exist, create it.)
B) Save the file. NOTE: if InDesign has updated to a new version, you may need to “Save As…” to save in the latest version format.
Back to Top